14 iPhone Photography Tips & Tricks
for iPhone 16 Pro, 15 Pro, and 14 Pro
Taking photos on your phone has never been easier with the iPhone 14 Pro, 15 Pro and now iPhone 16 Pro. Let's dive-in on our top iPhone photography tips for beginners to inspire your next photo shoot.
You should also check out these tips for taking better photos on an iPhone from our friends at Shotkit.
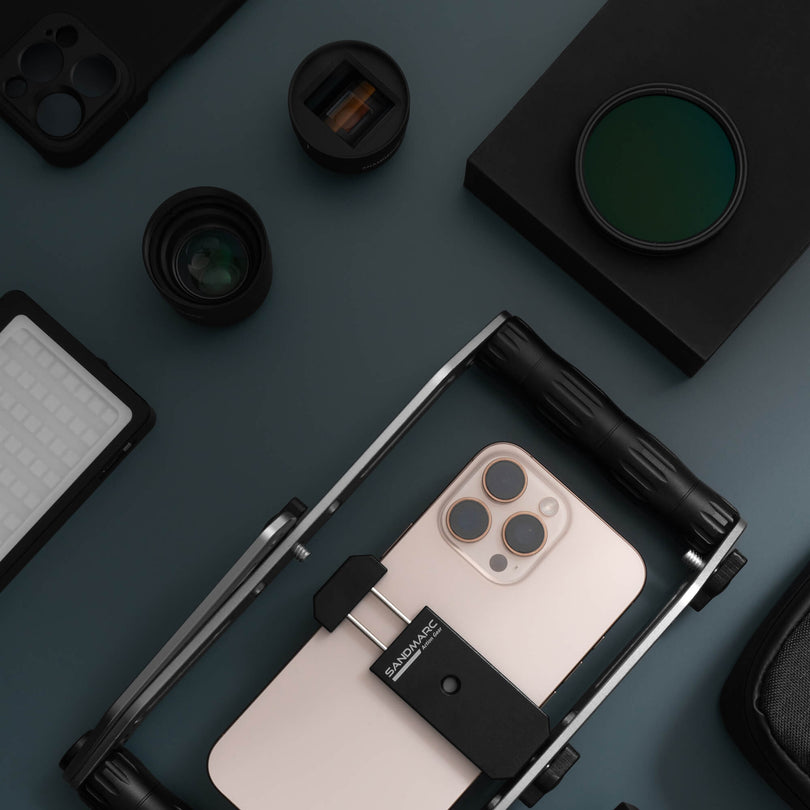
If you're looking for products to elevate your iPhone photography, you can take a look here: iPhone Lenses, Filters and Gear.
You should also check out these tips for taking better photos on an iPhone from our friends at Shotkit.
If you're looking for products to elevate your iPhone photography, you can take a look here: iPhone Lenses, Filters and Gear.
1. Adjust Camera Settings
While the iPhone 14 Pro camera made headlines for it's high-quality camera, the 15 & 16 line is a step above.
The iPhone 16 Pro and 15 Pro have a second-generation optical image stabilizer for clearer images even if your hands move.
To make the most of the new Photonic Engine, go into Settings > Camera > Formats to switch on Apple ProRes and 48 megapixels settings.
This allows you to capture large image sizes with four optical zoom levels and a larger image sensor.
2. Turn On Apple ProRAW
Inside camera settings, you can also switch on Apple ProRAW, the closest format to professional photography.
ProRAW retains unprocessed data from the image sensor, giving you more to work with when editing white balance and exposure.
In comparison, the JPEG format discards a fair bit of data to compress the file, so you have less flexibility when editing.
While ProRAW photos offer impressive quality and are great for editing, keep in mind these are huge files and the more storage you have, the better.
3. Prepare Phone Storage
If you plan to use Apple ProRAW for all or most of your photos, it’s worth splurging on storage.
That’s because an unedited ProRAW file can take up to 60MB, compared to 9MB for an edited JPEG.
You can also buy more storage space online and offload photos into iCloud, or try Google Photos.
If you still need more room, try offloading larger ProRAW files to a Mac or Windows computer.
4. Pick Your Style
Other iPhone photography tips for beginners focus on selecting a style with different frames per second (fps) settings.
If you want to start with basic JPEG shots, keep in mind that the higher the fps, the smoother the photo will look.
You can adjust your camera settings to Prioritise Faster Shooting, which will boost image quality, and Lens Correction, which automatically enhances photos for a more natural style.
5. Preserve Settings
iPhone photography tips for Instagram often focus on saving camera settings so you can achieve similar results in multiple shoots.
Switch on the Preserve Settings option, which prevents the phone from switching into still camera mode whenever you shut the screen.
This feature lets you choose which settings to preserve, with a description of each setting and how it usually resets.
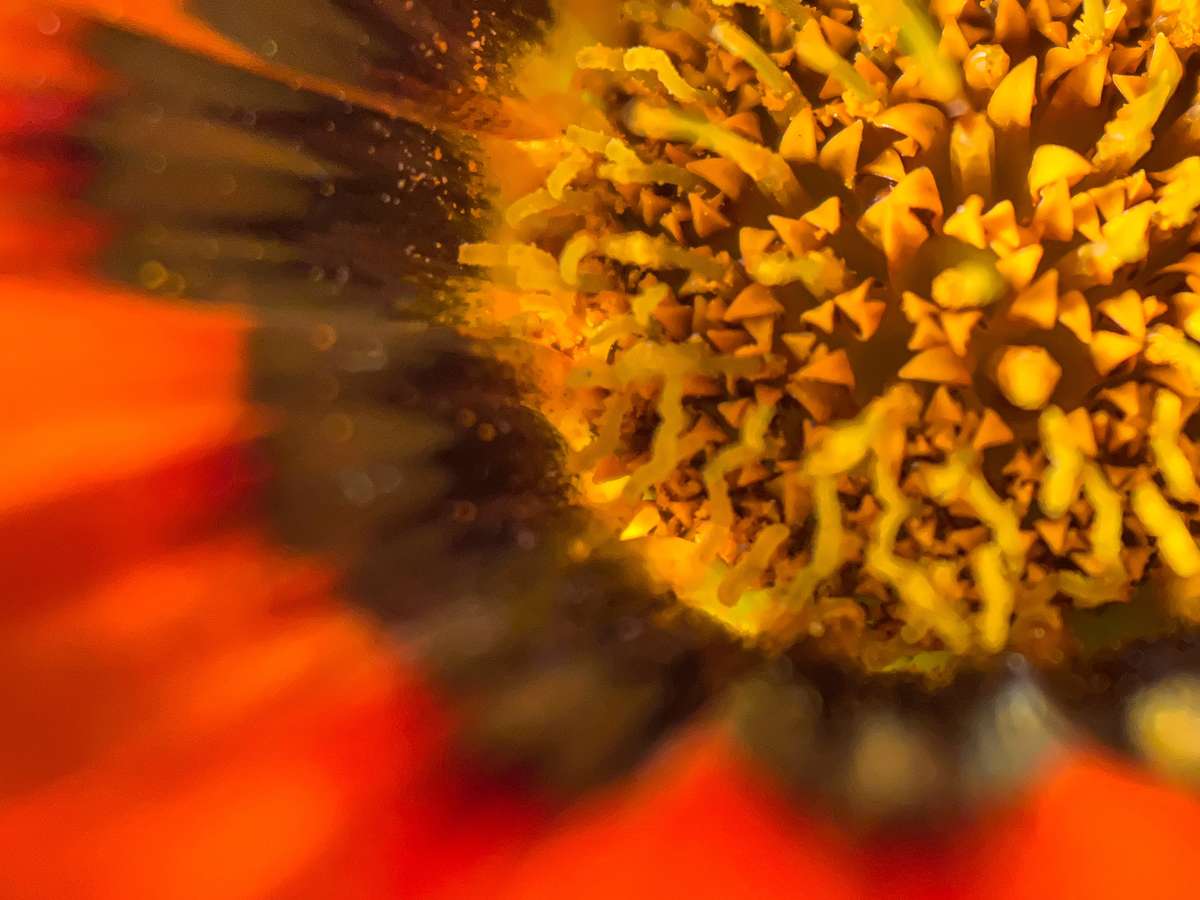
6. Use Macro Control
One of the best iPhone photography tips for beginners is to shoot in Macro mode for small subjects, such as up-close nature shots or jewelry details.
Macro Control automatically turns on when super close to a subject, as long as you’re not in ultrawide 0.5x zoom.
A small icon on the camera app screen confirms when Macro mode is engaged. This will give you impressive closeups and sharp focus for still/live photos and videos.
7. Use Shutter Button
There’s a few different ways to take photos with the iPhone 15 Pro & 14 Pro camera. The shutter button is visible on the camera screen, or you can use the phone’s volume buttons to snap pics.
Another option is to tap and slide the button to the left, which will take multiple photos for however long you press the shutter.
If you want to take a video, tap and hold the shutter or slide it right to lock the recording. This is one of our favorite iPhone photography tips for TikTok, as you can capture content hands-free.
However, if you upgrade to the iPhone 16 Pro, you can utilize the Capture Control button, which allows you to instantly open the camera. Once in the camera app, you can use it to adjust multiple features.
However, if you upgrade to the iPhone 16 Pro, you can utilize the Capture Control button, which allows you to instantly open the camera. Once in the camera app, you can use it to adjust multiple features.
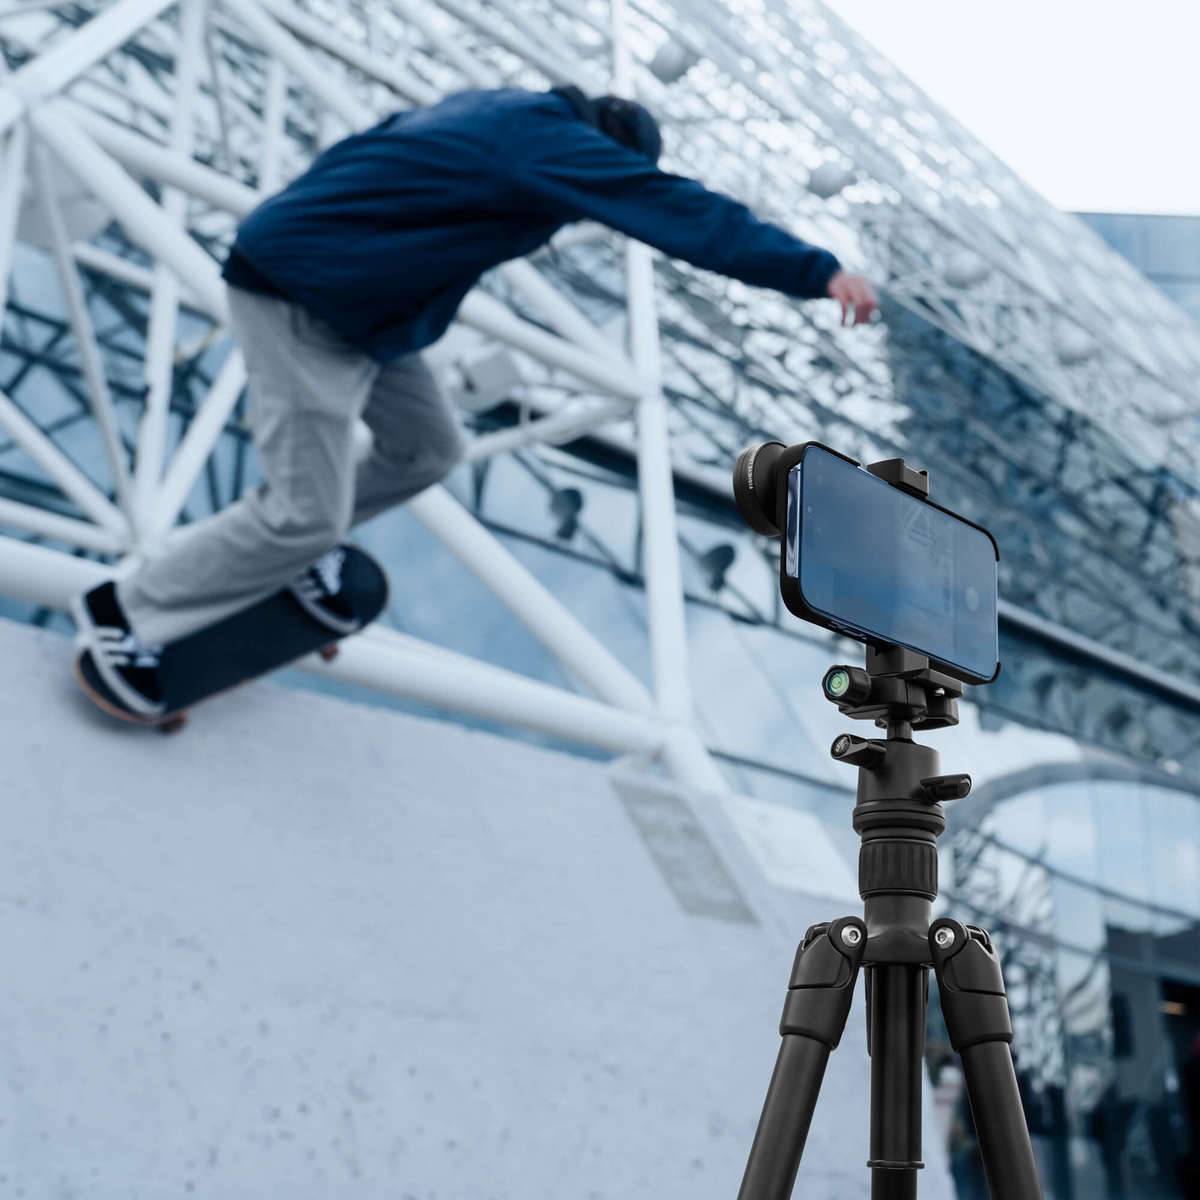
8. Take a Burst
Burst mode makes it easier to photograph moving subjects or take multiple photos so you have more to work with.
Burst works with both front and rear-facing cameras, and sends photos to a separate Burst folder so you can quickly delete any unwanted photos to clear up storage space.
Just tap and slide the shutter to the left, holding the button for a burst. The shutter button circle displays a counter of how many photos are captured in that burst.
9. Adjust Exposure
To change the exposure on the iPhone, tap the screen and slide up or down.
Lock exposure and focus with a tap and hold on the desired focus area, such as someone’s eyes or a key landscape feature. This ensures the settings remain consistent throughout the entire shoot.
One of our pro iPhone photography tips: if you use Apple ProRAW at 48 megapixels for a nature shot, expose the sky as you can pull out detail from the shadows when editing later.
Don’t forget to tap the small carrot arrow on the top bar to bring up exposure and flash control, plus timer and filter options.
10. Try Dynamic Island
If you want to take professional photos on your iPhone, the iPhone 16 Pro, 15 Pro, and 14 Pro Dynamic Island feature is your best bet.
Essentially, you can keep the camera open and accessible while looking at settings or other iPhone apps at the same time.
Dynamic Island comes in handy for checking alerts and monitoring recordings while capturing content.
11. Use Live Photo
The Live Photo feature offers a longer snapshot of the three seconds before, during, and after you snap a photo
It’s like a tiny video clip, offering different photo frames and perspectives so you can select your favorite final image.
Switch this setting on and off from the camera screen. In terms of live iPhone photography tips for portraits, make sure to hold the camera still and move the slider to change frames for the best results.
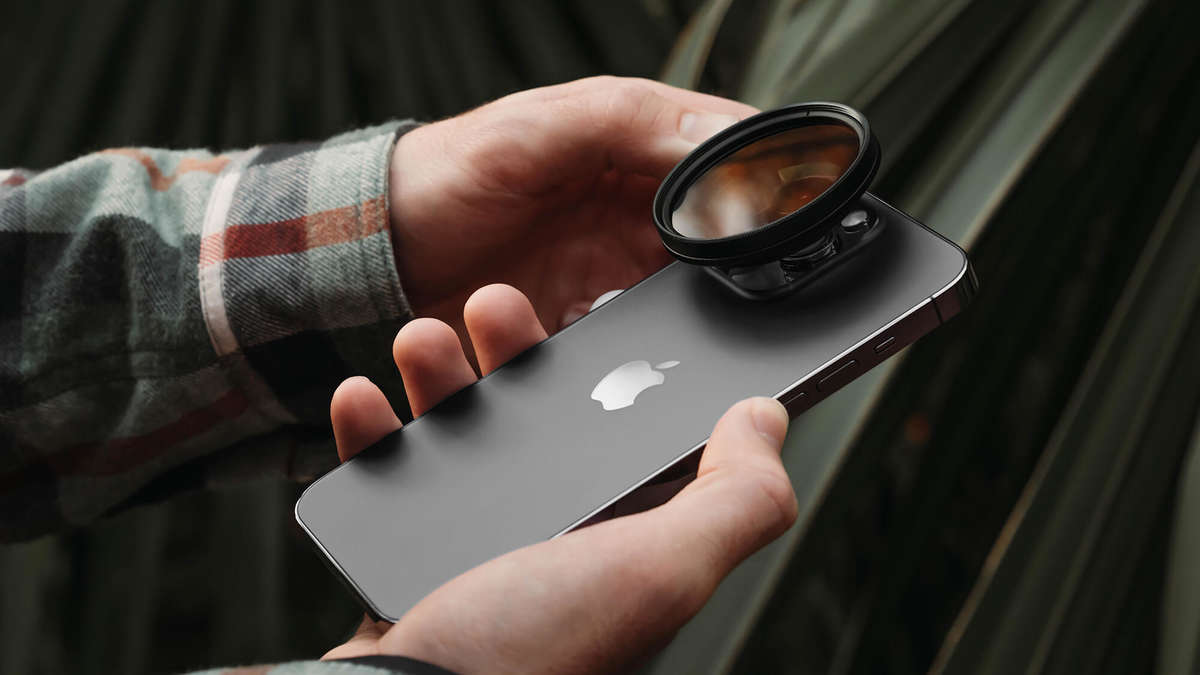
12. Add Filters
The iPhone 16, 15, and 14 range features new filters for Portrait mode, along with popular favorites like vivid, dramatic, and black-and-white. The iPhone 16 is the first iPhone in a long time to upgrade the filters in the camera app.
To apply a filter, bring up the photo or video and select the Edit option. Scroll through filter effects and drag the slider to change the filter’s intensity.
Click done to save changes or cancel to discard edits.
13. Auto Edit
iPhone photography tips for beginners often touch on auto editing.
iPhone 16, 15 & 14 technology provides some pretty powerful photo editing, and with one touch your phone will make automatic adjustments to the color, contrast, and exposure.
You can switch Auto Enhance on and off in iOS 17 settings, too.
14. Custom Edit
Auto Enhance and filters are usually enough for fast photo editing on any iPhone 16, 15 & 14 model.
However, it’s easy to make your own changes if you prefer to adjust settings manually.
Custom edit options include:
- Exposure - lighten or darken the entire photo
- Highlights - lighten bright areas like clouds
- Shadows - enhance dark shadows on faces and buildings
- Brightness - adjust lightness and darkness with more saturation and contrast
- Vibrance - brighten colors realistically or mute colors for an aged look
Now that you know our top iPhone photography tips, check out popular iPhone video hacks and iPhone lights to capture even better content.