5 Steps to Desqueeze Anamorphic Photos
Using Adobe Photoshop
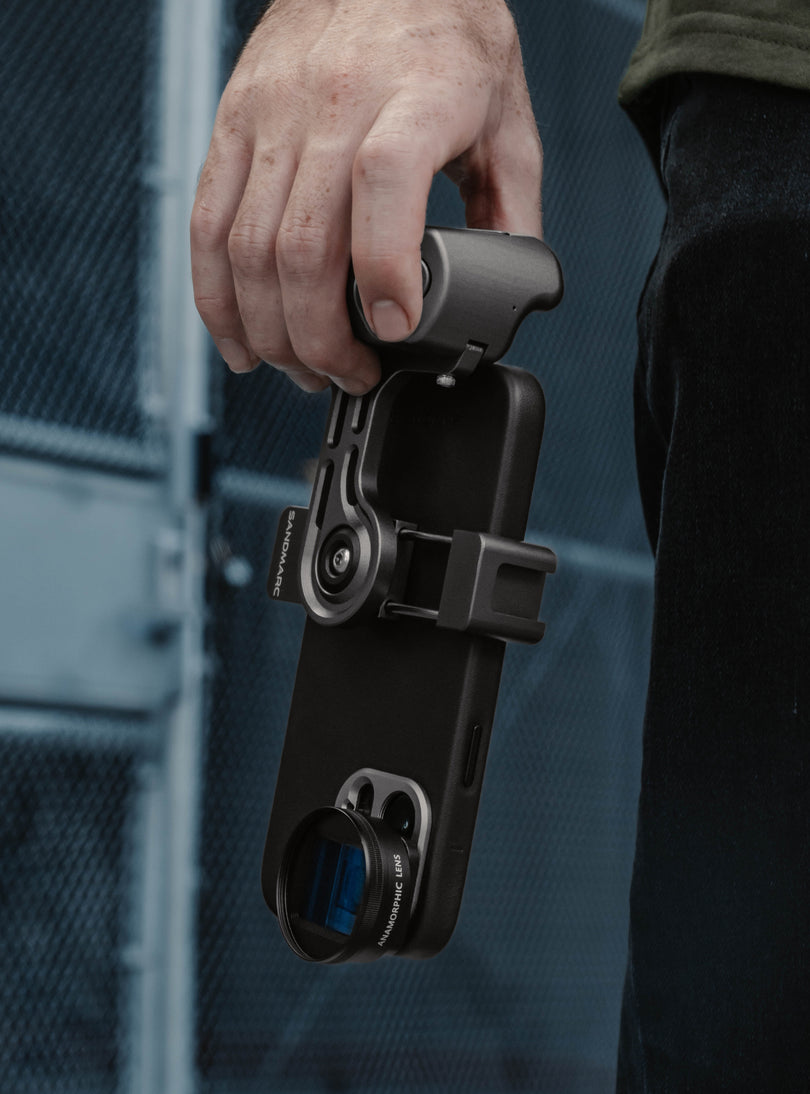
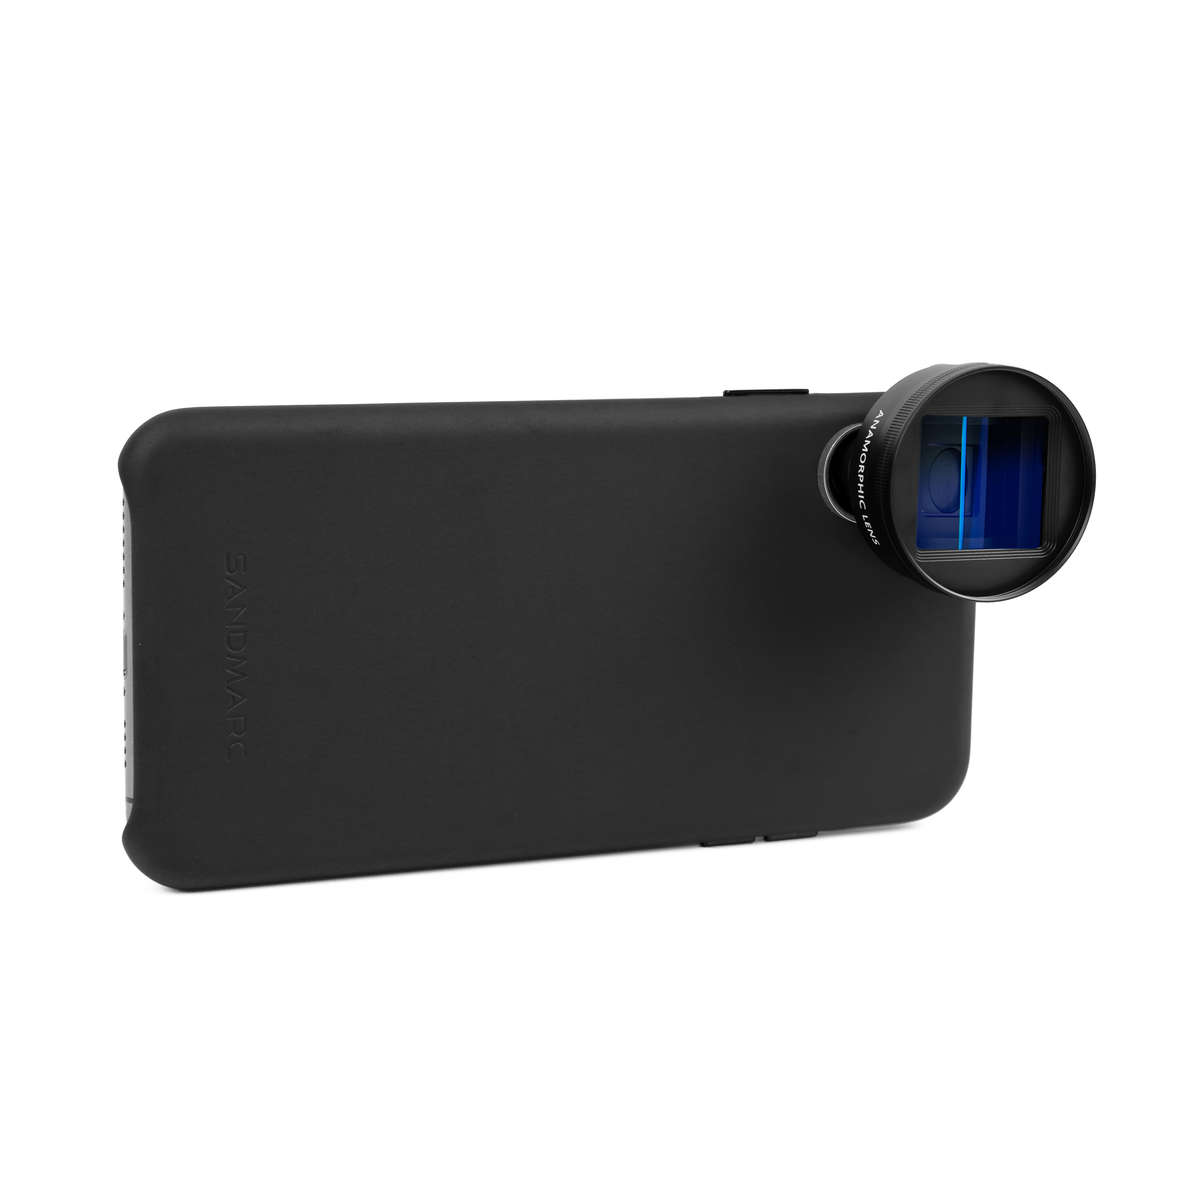
The anamorphic lens is primarily geared towards video use, but there's no reason it can't be used to take photos. The squeezed frame of the anamorphic lens gives you an impressively wide field of vision, and can lead to some stunning landscape shots. The only catch is that your images will appear squeezed when you look at them in your Photos. Here's a quick 5 step tutorial on how to de-squeeze the images using Photoshop.
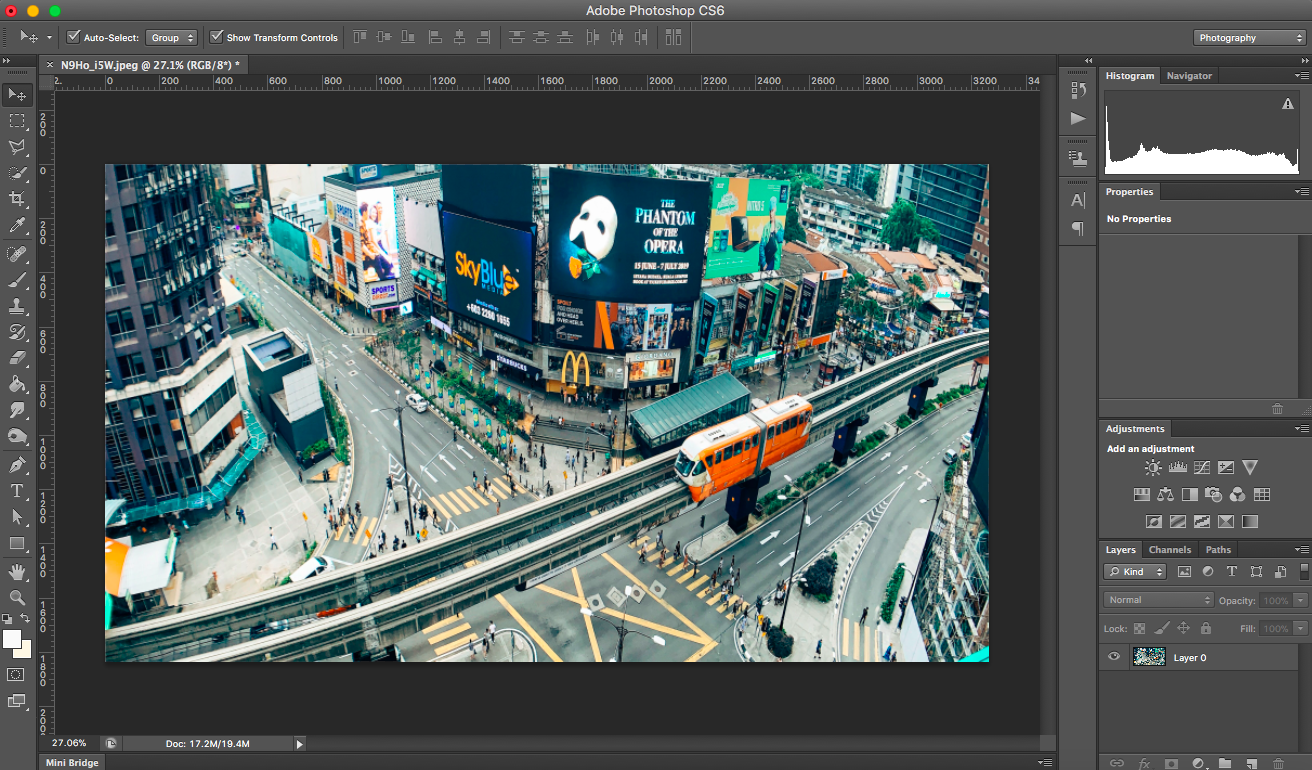
STEP 1:
Open your photo in Photoshop
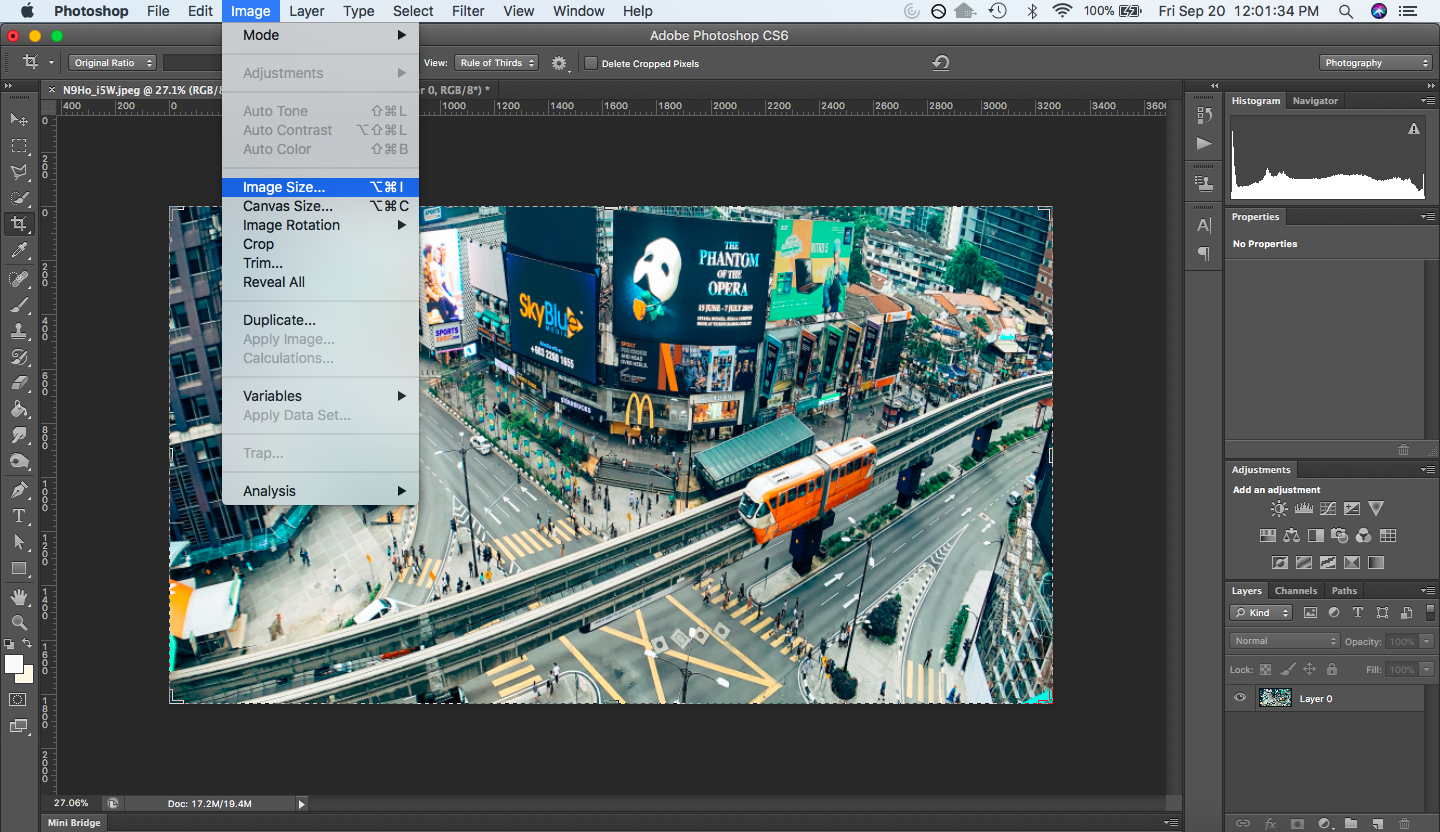
STEP 2:
On the setting bar go to Select Image -> Image Size. A window should pop up to change the image size.
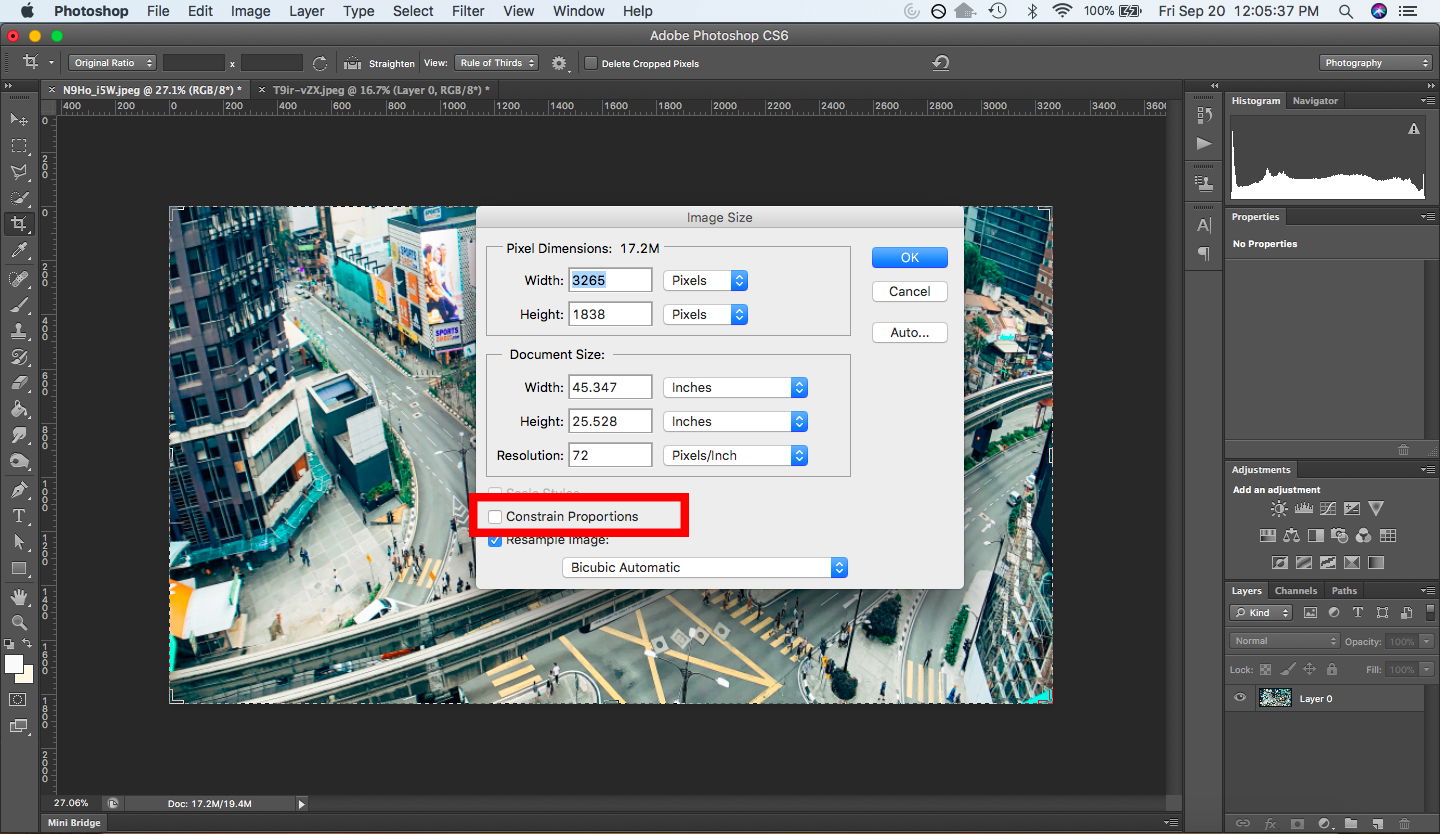
STEP 3:
Unlock the aspect ratio by clicking on the lock symbol, or unchecking the Constrain Proportions box, depending on your version of Photoshop.
STEP 4:
Multiply the height for portrait photos or width for landscape photos by 1.33 and insert those new numbers into the height or width box (depending on the orientation of the photo.)
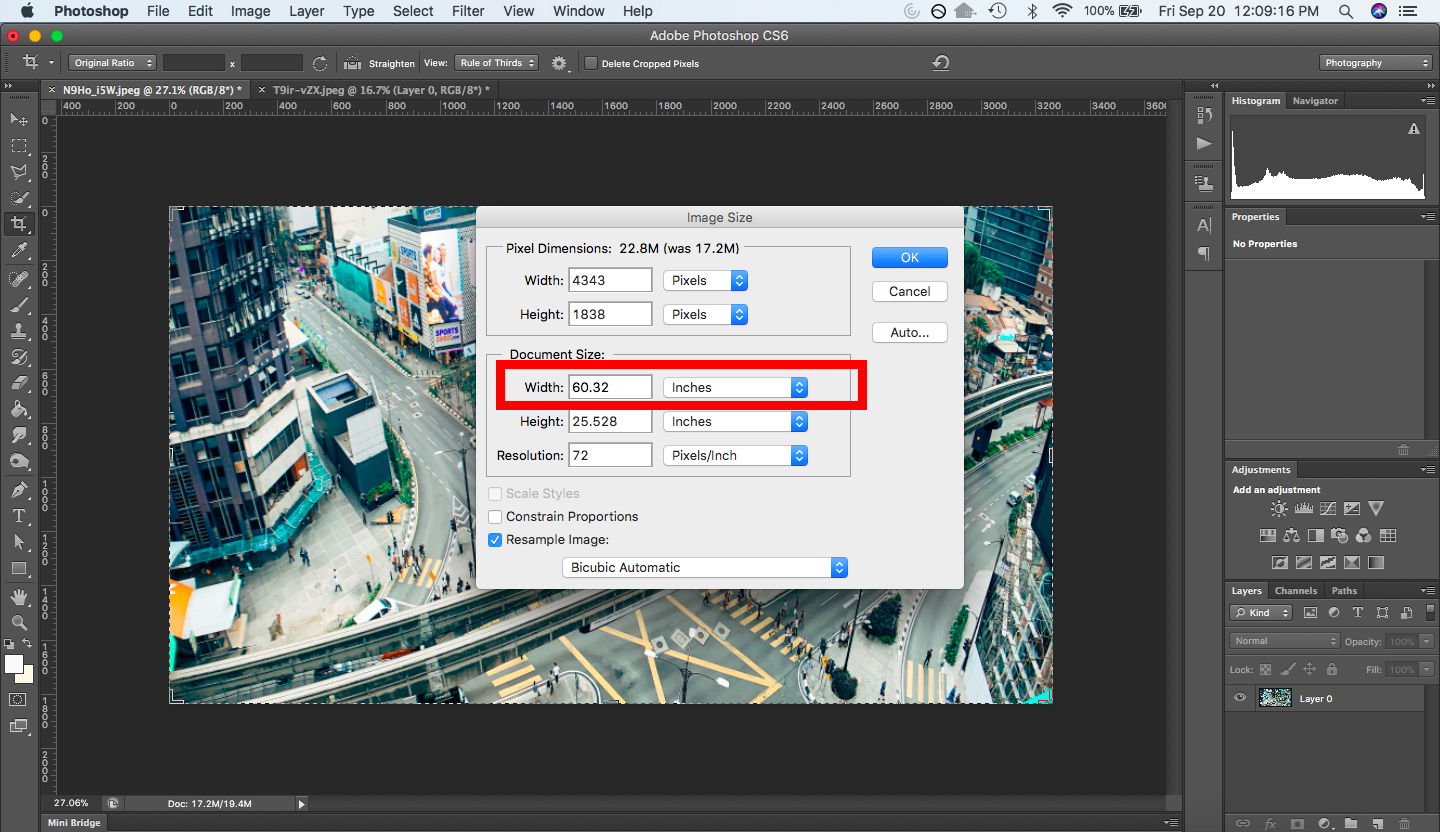
STEP 5:
Press OK and now your image is desqueezed!
Save it as a .JPEG or any other format you require.
Save it as a .JPEG or any other format you require.
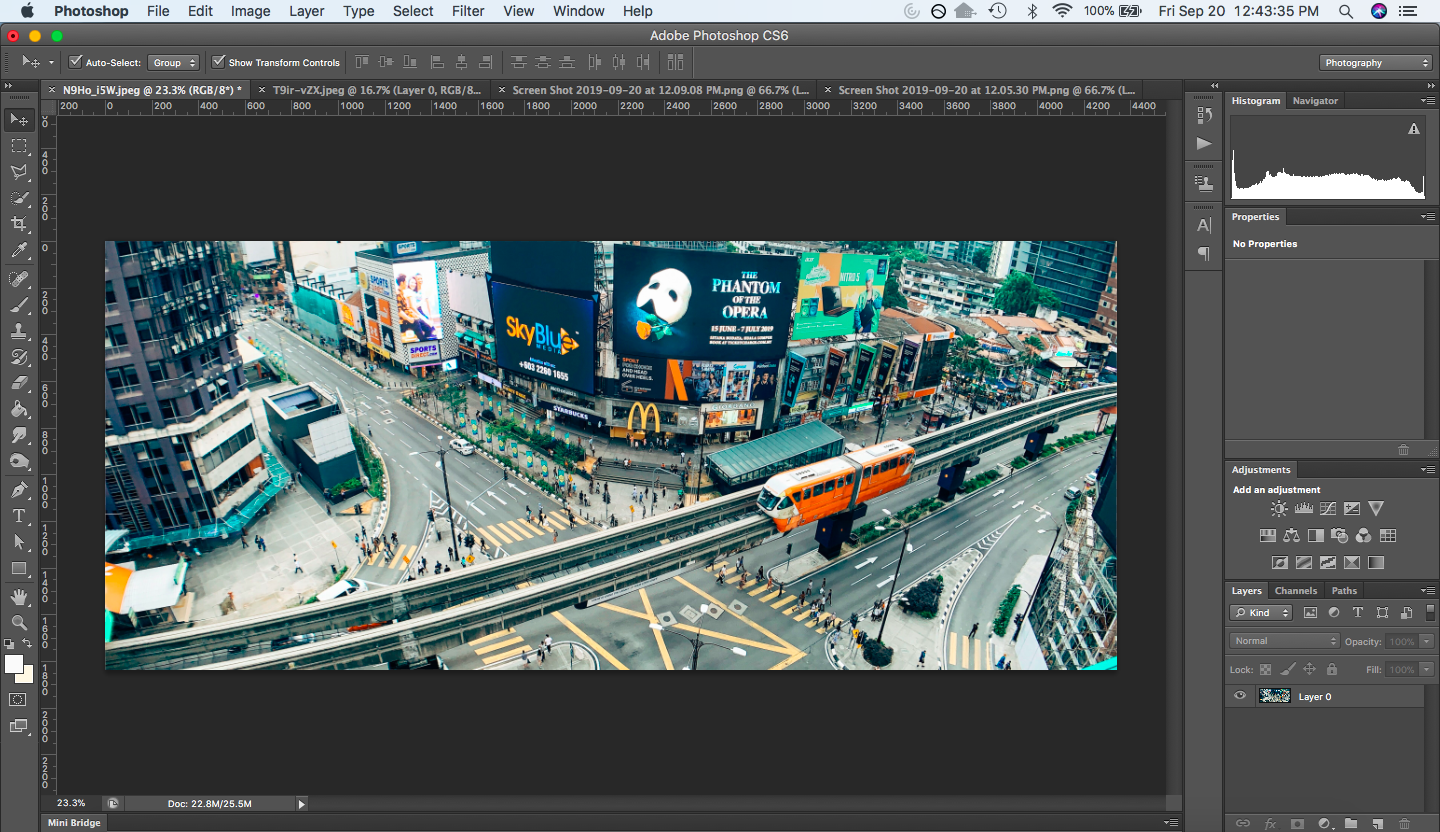
BEFORE

AFTER
