13 Tips & Tricks For Better iPhone Photography

The iPhone is packed with powerful photography tools to help you capture the best possible photograph. But you may find yourself wondering, which lighting mode should I use? Is this a good time for portrait mode? What the heck is HDR? Why don’t my pictures look like everyone else’s on Instagram?
We've compiled this list of 13 essential Tips and Tricks to help you take your iPhone photography to the next-level. Plus, capturing quality photos isn't always about the tech, it's important to know some of the basic composition techniques used by photographers and content creators.
Composition
1. Keep It Simple. Powerful tools aside, composition is probably the most important part of a good photograph. Keeping it simple means limiting your pictures to one or two subjects. Invite negative space into your shots, it makes your subject stand out. Plus, it prevents the image from being busy and indistinguishable. You also have to consider that most people are viewing your photos on small screens —there’s no need for complex pictures packed with detail, because most of it gets lost on such a small scale.


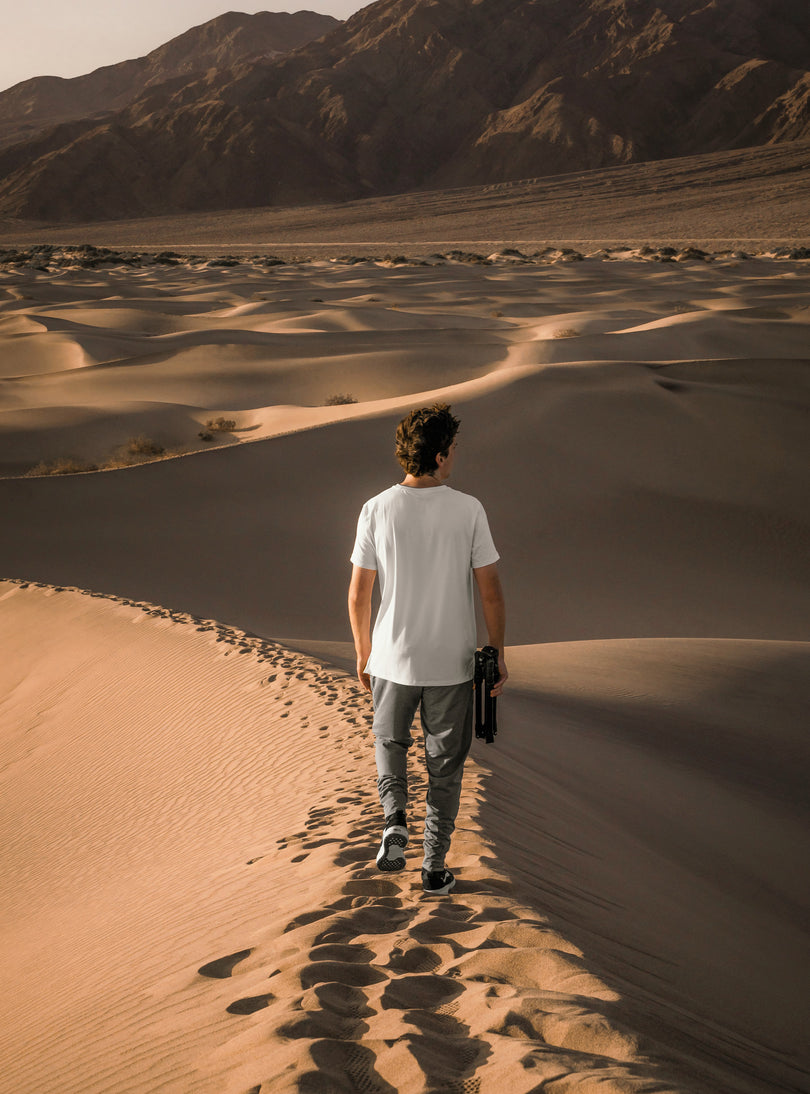
2. Shoot from a different angle. Most photos are taken from chest height and this look can get a bit stale (unless you’re taking a portrait of someone). Try shooting subjects form a low angle to include more negative space, like the sky. Not only will it offer a fresh perspective of your environment, but it gives you an opportunity to capture interesting details in the foreground such as grass or reflections in the water.

3. Create Depth. Photos can be simple but still include subjects in the foreground, middle ground and background. In fact, it provides context and a three-dimensional effect, giving the viewer a perspective similar to the human eye. Also look out for dramatic and impactful naturally occurring elements such as shadows, reflections, water ripples, and silhouettes.

Another way to capture depth is by including leading lines in your composition. These are natural lines — railroad tracks, streets, shore lines, fences, shadows, etc.— that lead the viewer's eye from the front of the picture to the back.

4. Diagonal Compositions. If your photos are feeling a bit unbalanced, or you’re having a tough time framing foreground, middleground and background, try aligning them diagonally. Here is a great example of the foreground starting in the bottom right, and the river acting as a leading line towards the giant peak in the back left.

5. Symmetry. Regardless of the rule of thirds, symmetrically composed images are classic and offer an undeniable compellingness. When framing a symmetrical photograph make sure that your subject is directly centered, or the effect may get lost or look a little clumsy.
Shooting Practices
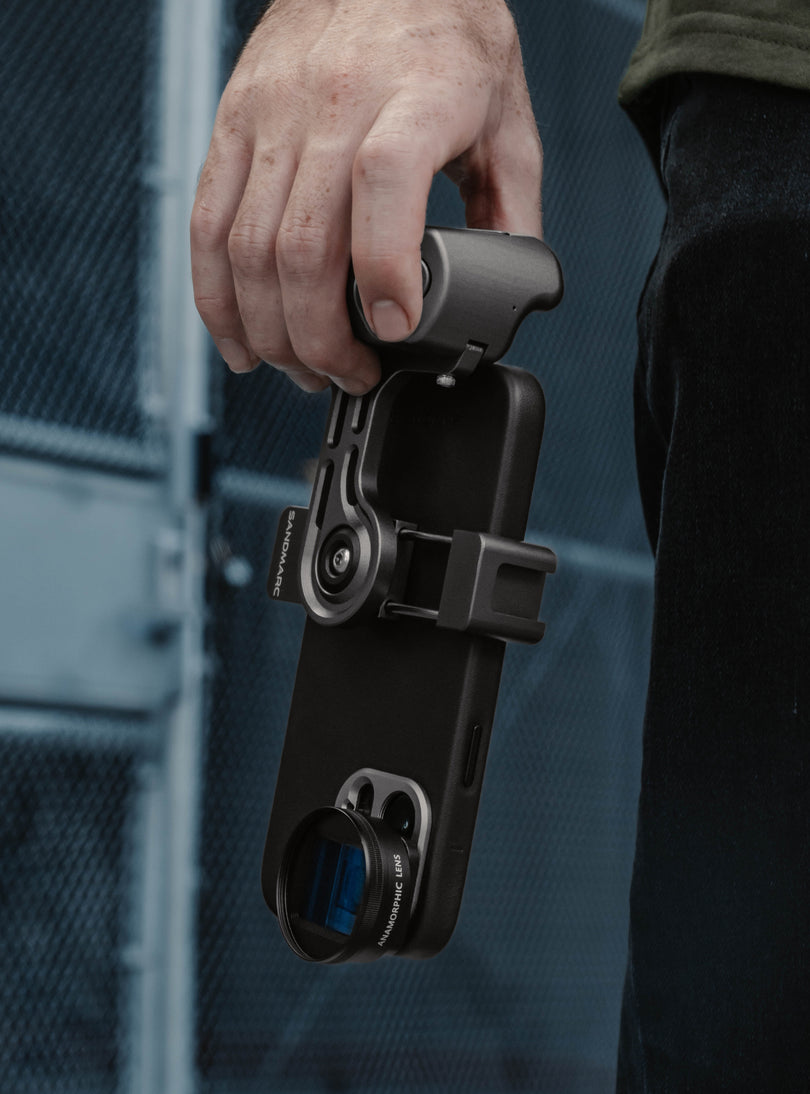
6. Stabilization. For the highest quality pictures, your iPhone needs to be perfectly stabilized, so just take a tripod everywhere you go! Obviously that’s not going to happen. The alternative is finding creative ways to stabilize your arms while shooting. If possible, use both hands to hold the phone, rest your elbows on a hard surface, or lean your shoulders against a solid object. Keep in mind, the shutter button doesn’t take the picture until your finger releases. So instead of tapping your phone, which causes shaking, try gently pressing and releasing the button. Or for an extra boost of stability, try using the timer feature — set it to 3 seconds, stabilize your phone, and let the automatic shutter do the rest.
7. Clean your lens. This is probably the number one thing people forget to do before taking a photo. Your phone bounces around all day and the lens is usually covered in smudges. Always remember to give it a quick wipe down before shooting.
8. Use HDR. What exactly is HDR? It stands for High Dynamic Range, and it’s a tool designed to capture detail in all of the different light tones in a photograph — highlights, midtones and shadows. It works by taking three different exposures of the same image and blending them together. That way nothing gets lost to over exposure or to dark shadows. What you’re left with is a highly detailed image with a dynamic range of colors and tones. You may notice your HDR appears a little bit flat, with a lack of contrast, but that just means it’s doing its job. You need to use an editing app or program with HDR photos in order to unlock their full potential.
9. Use focus & exposure. You probably already tap the screen on your camera to pull focus, but did you know that if your press and slide the screen you can move the exposure up or down on your picture? Setting the right exposure before you take your shot is crucial for maximizing details and minimizing overblown highlights. You can lock focus and exposure by pressing and holding the screen (you can still slide-adjust exposure while in lock mode).
10. Avoid digital zoom. If you’re not using an iPhone which has an optical zoom (plus models & the X). Steer clear of the zoom feature, as it will just expand pixels and compromise the details of your your image.
11. Avoid using pre-filters. Once you add salt to your spaghetti, you can’t take it out. It’s better to work with a blank canvas, that retain as much natural color and detail as possible so that you have more dynamic editing options.
iPhone Tools
12. Choosing a mode. The latest iPhones has a lot of shooting modes in their toolbox, and at times it can be overwhelming to know which one and when to choose.
- Portrait Mode: This is arguably the most exciting new mode the iPhone offers. It’s designed to give prominence to your subject by simulating bokeh in the background, ultimately softening the picture and giving it a more professional/artistic look. Apple recommends hovering around 8 feet away from subject, and using soft/diffused light for best results.
- Portrait Lighting: You’ll notice a little hexagon towards the bottom of the screen while in portrait mode. This offers you 5 different types of lighting — natural, studio, contour, and mono. They all take a different approach to lighting your subject. Studio lighting is probably the most reliable mode, as it behaves similarly in most situations; it brightens up your subject’s face and makes the highlights really pop. Contour lighting provides a more dramatic effect by accentuating shadows and definition. For a complete rundown on these tools, this articles offers some great information.
- Burst Mode: If you have trouble capturing the perfect moment in time — eyes open, everything in focus, perfect smile, etc.— do what the pros do and take dozens of pictures. Hold down the shutter button and your camera will rattle off split second pictures for as long as you hold it. They’re grouped into one file so you can easily peruse them for the best ones, while deleting the rest.
- Live Photos: For compelling photography, you don’t really need to use the live photo feature. It’s a little gimmicky and takes up a lot of storage space in your phone.
13. Consider third party camera apps. The app store has a few really great third party camera apps that promise to make your iPhone as close to a DSLR as possible. You can have full manual control over exposure, shutter speed, iso, exposure and more. Most shoot in RAW which means, robust pictures, packed with data. This creates much more dynamic editing possibilities.We highly recommend ProCam5, ProCamera, or Adobe Lightroom.

Wrapping Up
The Sandmarc team aren’t the only people who want you to maximize your photography skills — Apple has started offering their own camera advice. They’ve provided this guide filled with tutorials and tips to unlock the power of iPhone photography.
Keep your photos simple, follow the basic rules of photography, and understand the camera’s software tools. These guidelines should quickly take your photographs to the next level!