How to Capture Surf Photography on Land with iPhone
Every avid surfer hopes to have great shots captured while they’re out surfing. Whether you’re shooting photos for friends or watching the pros at a surf competition, you may not realize it, but your iPhone can capture perfect action shots. With the right techniques, you can freeze every thrilling moment.
Understanding lighting, angles, and timing can make all the difference in transforming an ordinary photo into a stunning surf image. This guide will walk you through the best ways to capture surf photography on land with your iPhone, helping you get the most out of your device.
Understanding lighting, angles, and timing can make all the difference in transforming an ordinary photo into a stunning surf image. This guide will walk you through the best ways to capture surf photography on land with your iPhone, helping you get the most out of your device.
Choosing the Right iPhone & Gear
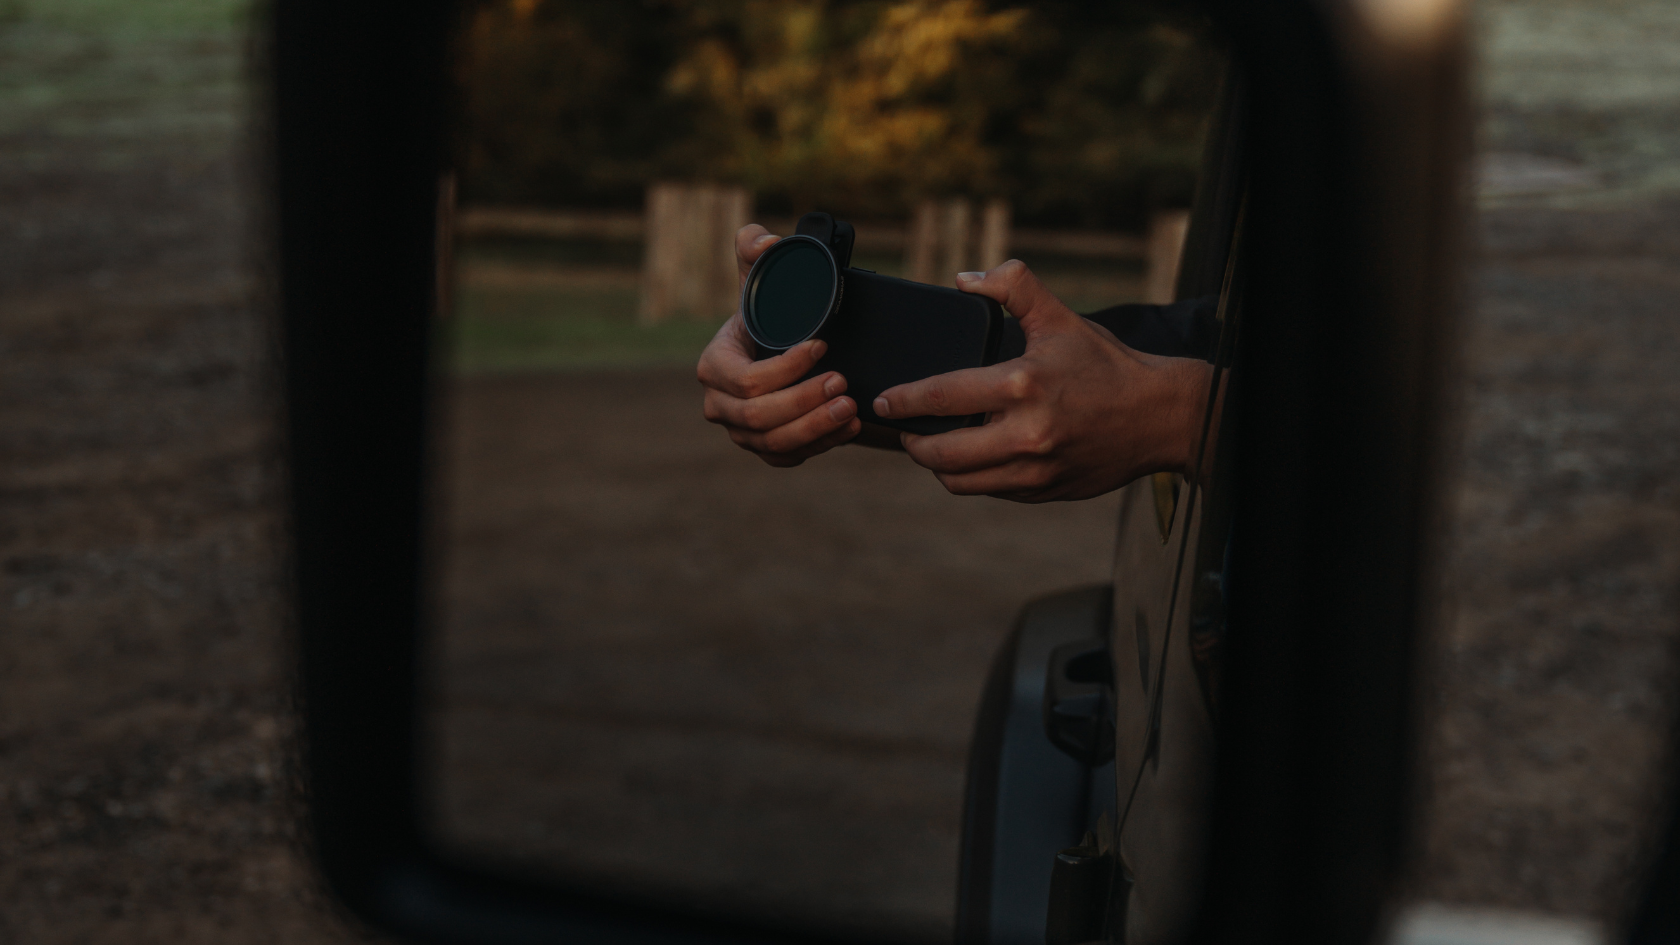
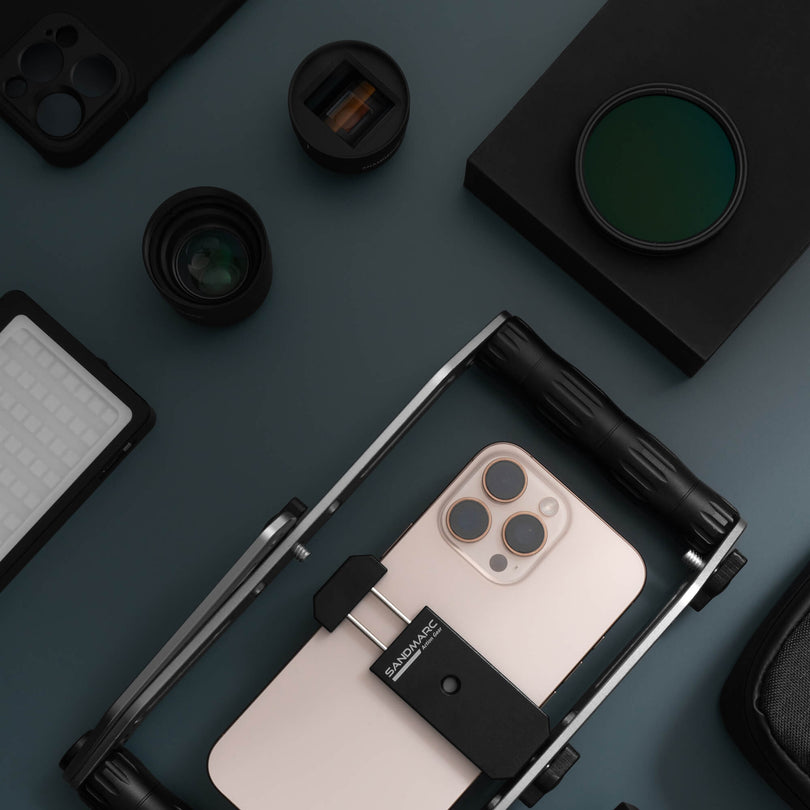
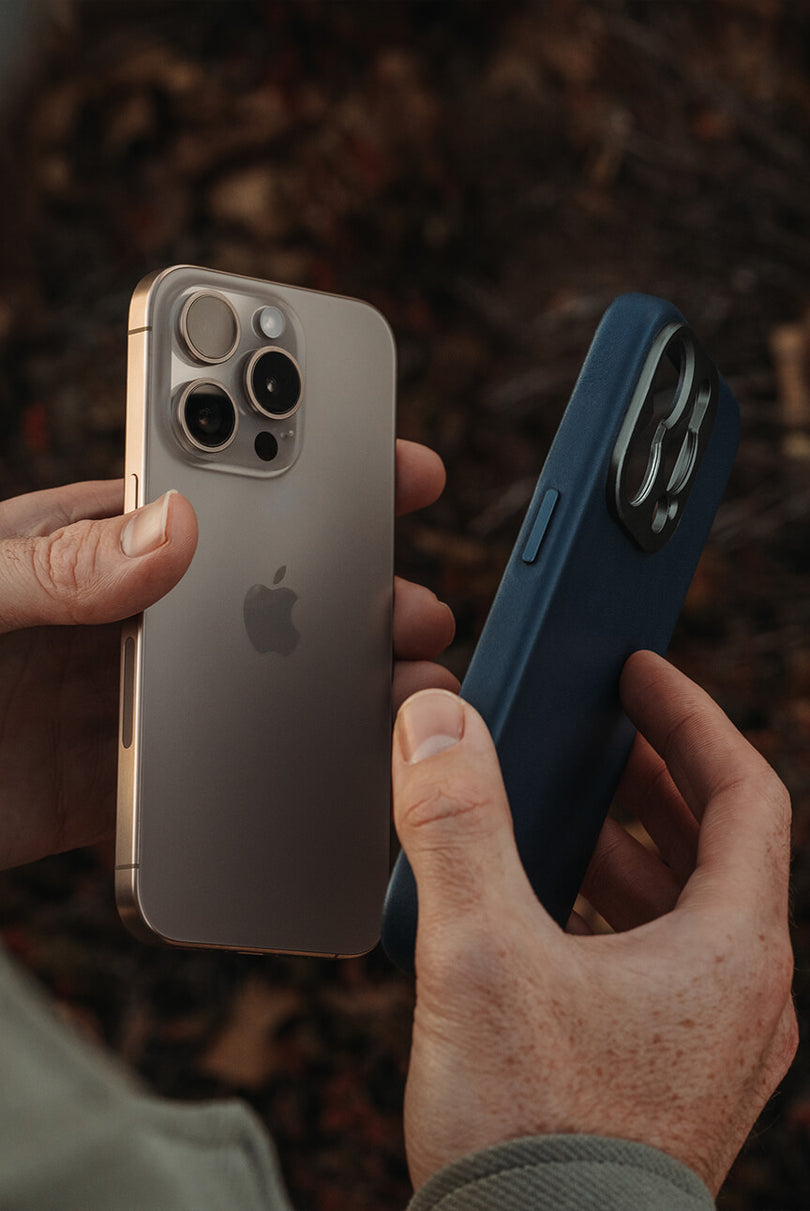
For optimal photo quality, we recommend using an iPhone model from the iPhone 14 Pro Max to the iPhone 16 Pro. These recent models feature a 48MP camera with improved image sensors, allowing for greater detail and clarity. Enhancing your iPhone camera with attachable lenses and filters can further elevate your photography. We recommend the Telephoto 10x Lens paired with the Drama Filter to effectively capture distant surfing shots. Along with the lens and filter, opting for the Tripod and Creator Grip will complement your gear.
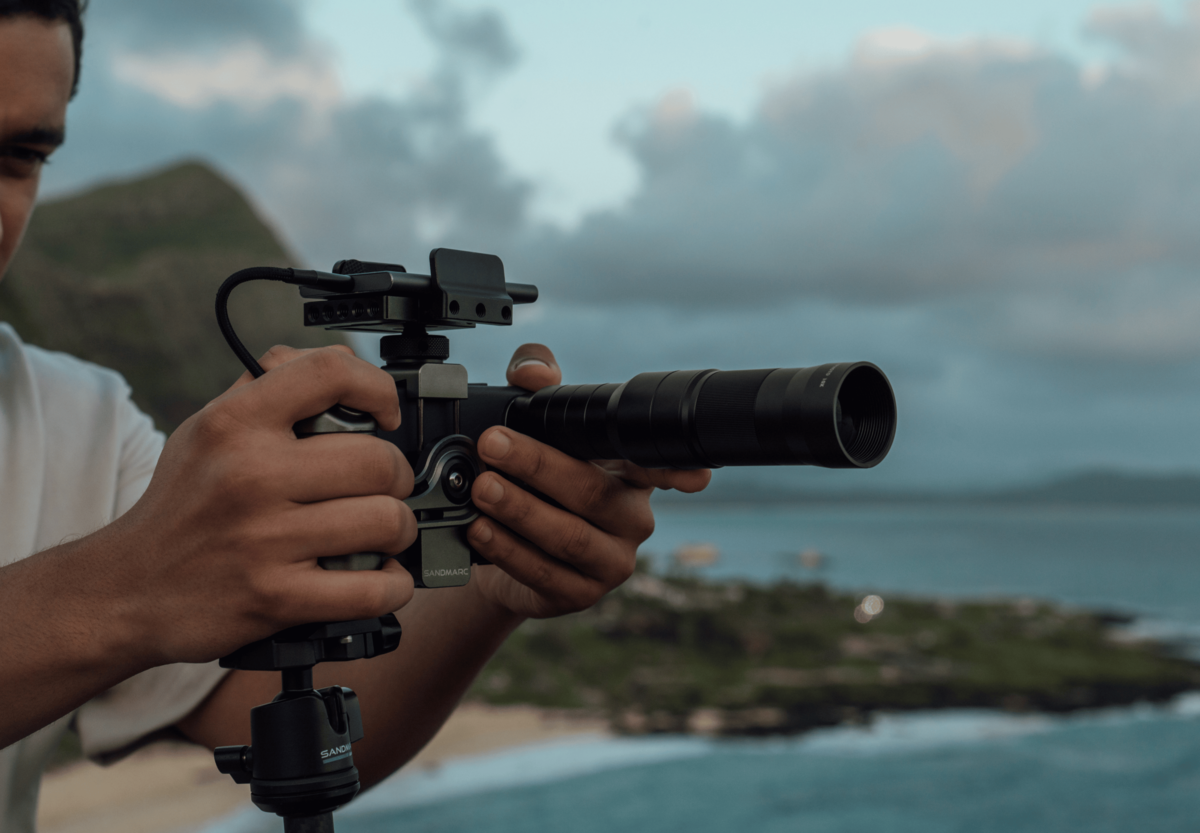
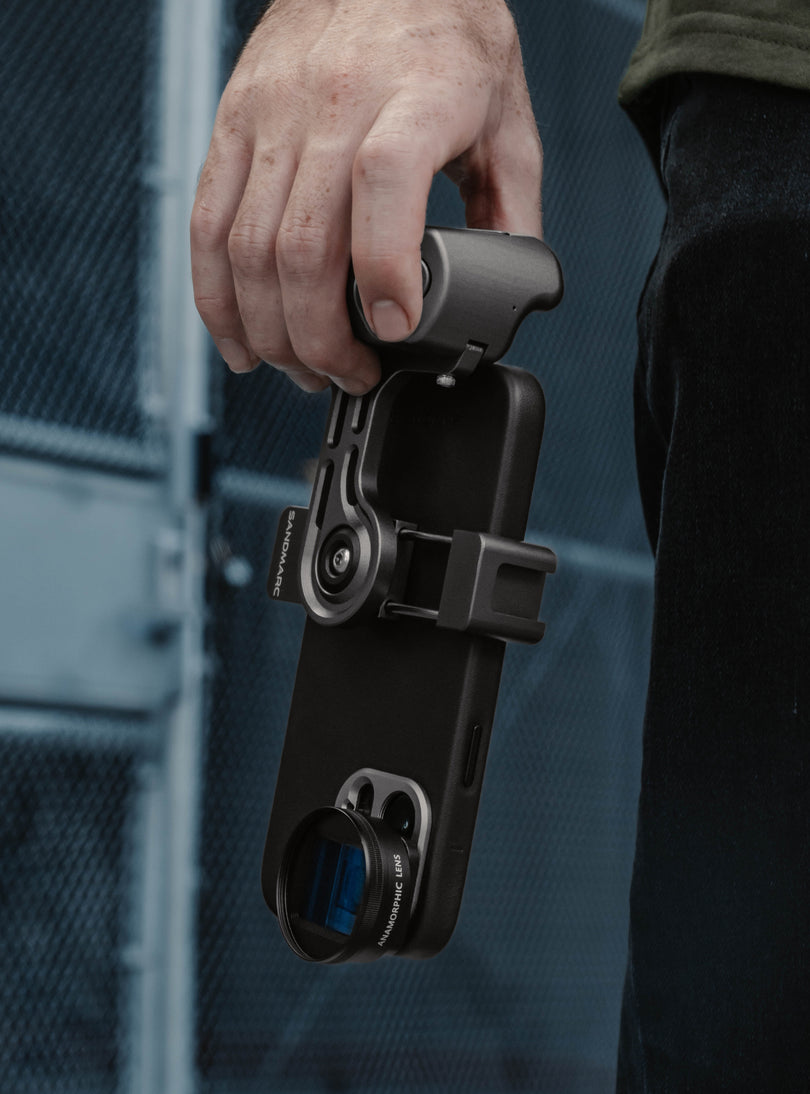
The photo above shows the iPhone attached to the Creator Grip for easier mobility, which is then mounted to the Tripod for overall stability. The Telephoto 10x Lens is attached to the iPhone for optimal 10x zoom. The Creator Grip can be used alongside an SSD, allowing for expanded storage on the iPhone when connected with the appropriate adapter.
The image below shows how the Drama Filter affects light by darkening the sky and reducing reflections in the water.
The image below shows how the Drama Filter affects light by darkening the sky and reducing reflections in the water.

Before

After
Mastering Camera Settings & Modes
You can have the right gear, but if your settings don’t complement it, you won’t get the best quality photos. On an iPhone, the best settings for action shots are Burst mode and AF Lock. Burst mode allows you to capture multiple pictures at once, ensuring you don’t miss a frame. However, the iPhone automatically adjusts its lighting settings, which can make it challenging to maintain consistent exposure. AF Lock ensures your lighting stays consistent and will only adjust if you manually change it.
Understanding Surf Photography Techniques
Certain techniques in surf photography will ensure you capture the best photo. Many basic photography principles still apply, such as the rule of thirds and looking for leading lines. For both techniques, it’s ideal to utilize the wave and its various stages, from forming to curling. This is why it is important to be quick and knowledgeable, not only in photography but also in surfing, to anticipate what the best move for your camera is.
In surf photography, the closer you are, the better. You can capture surf photography in the water, but that is a whole other beast. In this article, we focus on capturing surf photography from the land. The best spots are onshore, up high on a hill, or even a well-positioned pier. Different angles and heights will allow you to capture different POVs of the wave and surfer.
Ideal Shooting Conditions and Editing
Photographing over water can be challenging, especially when bright sunlight reflects off the surface and causes overexposure. For the best results, capture surf photography during the golden hour—either in the morning or evening—when the light is softer. However, some photographers prefer shooting at midday, as the strong natural light enhances sharpness and detail.
If you choose to shoot at midday, additional editing may be needed to manage overexposure. The Drama Filter from SANDMARC is ideal for darkening the sky and reducing glare on the water.
The final step in capturing any form of photography is editing. Saturation, exposure, and sharpness are key settings to adjust. Saturation enhances the blue tones in the water and sky, but it’s important to balance vibrance to maintain natural colors.
Exposure is crucial because strong sunlight reflecting off the water can cause overexposure, washing out details and colors. Adjusting highlights and shadows can help restore balance. Sharpness enhances fine details and textures, but excessive sharpening can introduce noise and artifacts, so it should be applied carefully.
Capturing surf photography on your iPhone is exciting. If you're new to the sport, be sure to brush up on important surf etiquette and key facts. Respect local beaches, clean up after yourself, and have fun!
Author's Bio
SANDMARC offers photography gear for mobile creators, including top-tier lenses, filters, and accessories that elevate iPhone photography. Trusted worldwide, our products help users capture stunning visuals in any setting. Our blog provides tips, guides, and inspiration to enhance your creative journey, with advice and industry updates from our passionate team.