Food Photography Tips on iPhone
2024 Guide to better photos - Foodie Edition
Food Photography Tips on iPhone
2024 Guide to better photos - Foodie Edition
Calling all foodies! Here’s your guide to capture better food pictures
All you food lovers out there have come to the right place. Food photography doesn’t have to be so intimidating. Whether you're a chef, food blogger, or just love to eat, we’ve got you covered. Here are some tips to help you create drool worthy and mouth-watering content.
Food Photography Terms
First things first, here are the important terms to know in food photography.
We’ll have you sounding like a pro in no time.
We’ll have you sounding like a pro in no time.
Stand in Food
You can’t rush perfection, so why rush your set up?
When you have your set, equipment, and lighting set up the only thing that’s left to add is the food. Stand in food is the food that’s added by throwing it onto the plate and adds value to your camera’s angle. The purpose of the stand in food is to set up the shot for the hero food.
When you have your set, equipment, and lighting set up the only thing that’s left to add is the food. Stand in food is the food that’s added by throwing it onto the plate and adds value to your camera’s angle. The purpose of the stand in food is to set up the shot for the hero food.
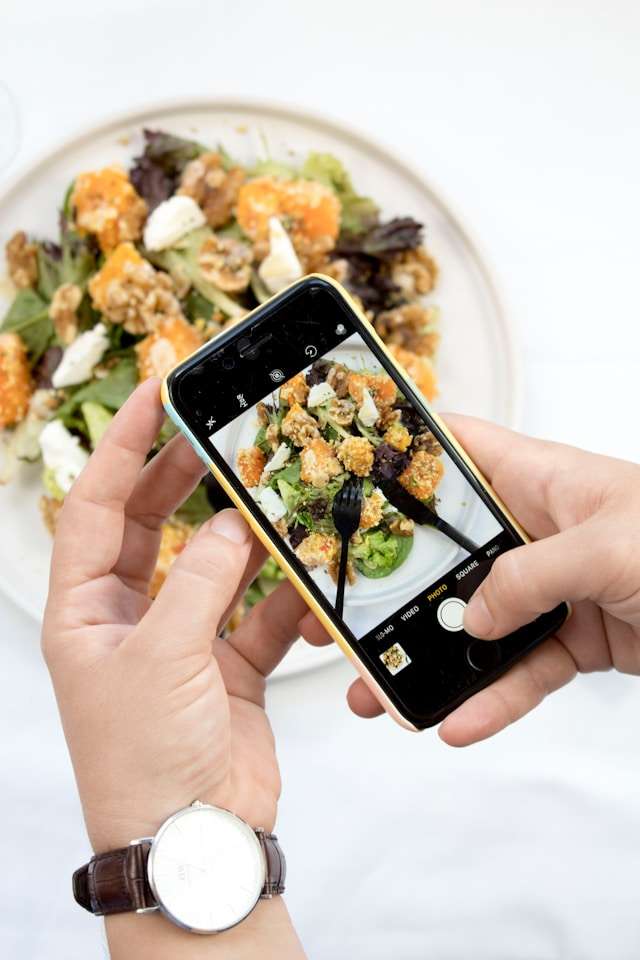
Hero Food
Now let's get to the fun part!
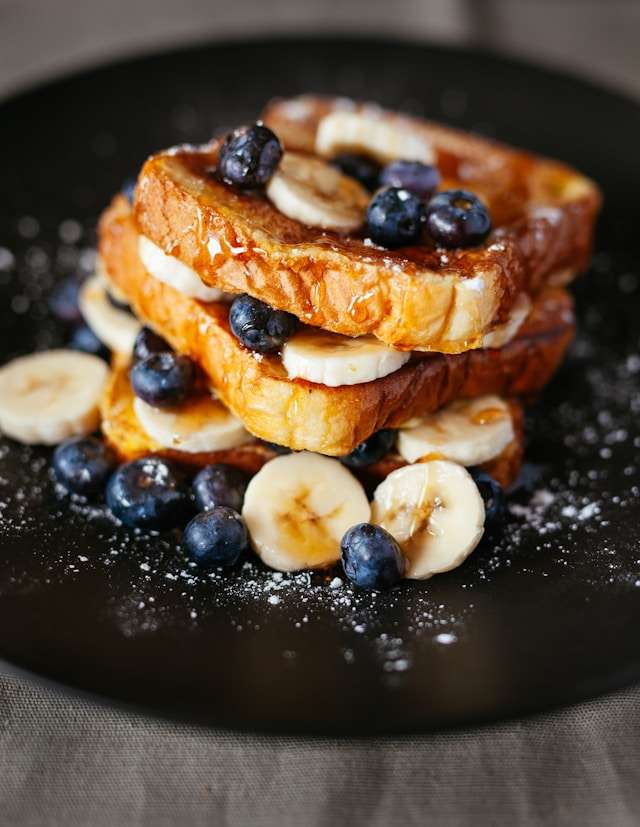
This is the part where you get in touch with your creative spirit and begin stylizing your plate. The hero food is the final outcome of a perfectly designed dish ready for its final shot. This stage can also be known as the beauty shot.
This is the part where you get in touch with your creative spirit and begin stylizing your plate. The hero food is the final outcome of a perfectly designed dish ready for its final shot. This stage can also be known as the beauty shot.
Mark the Plate
Having a hard time staying organized?
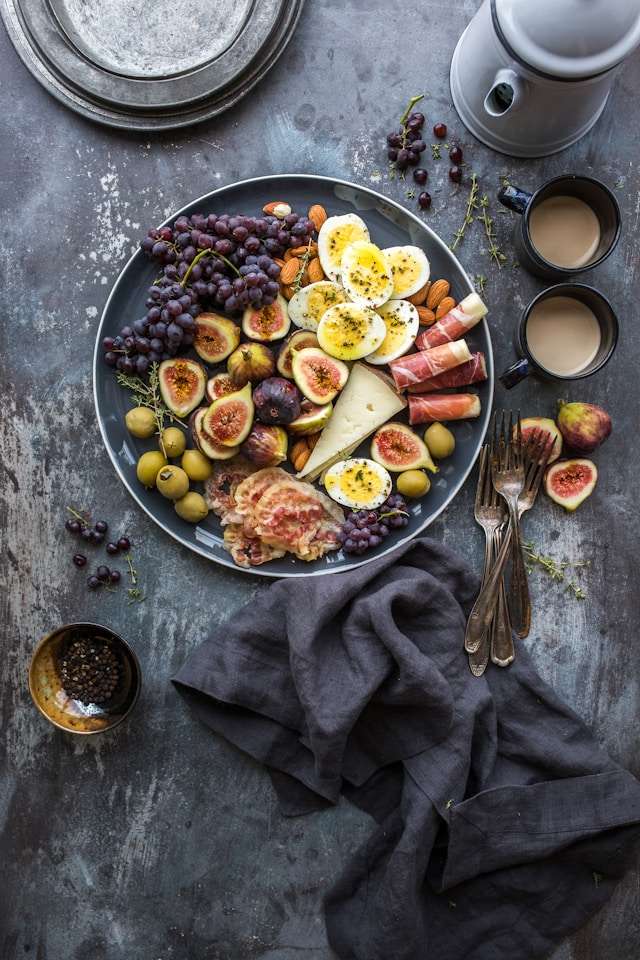
This technique helps you stay organized when taking multiple shoots. After setting up your set and plate, before removing the plate mark where it was. Typically small wooden blocks are used to mark plates in between shoots. Whether you're a food stylist, or serious food blogger you should definitely mark your plates! This is definitely a time saver and is recommended when doing multiple shoots of different plates.
This technique helps you stay organized when taking multiple shoots. After setting up your set and plate, before removing the plate mark where it was. Typically small wooden blocks are used to mark plates in between shoots. Whether you're a food stylist, or serious food blogger you should definitely mark your plates! This is definitely a time saver and is recommended when doing multiple shoots of different plates.
Spritz It
Hydration is key, even for your food!
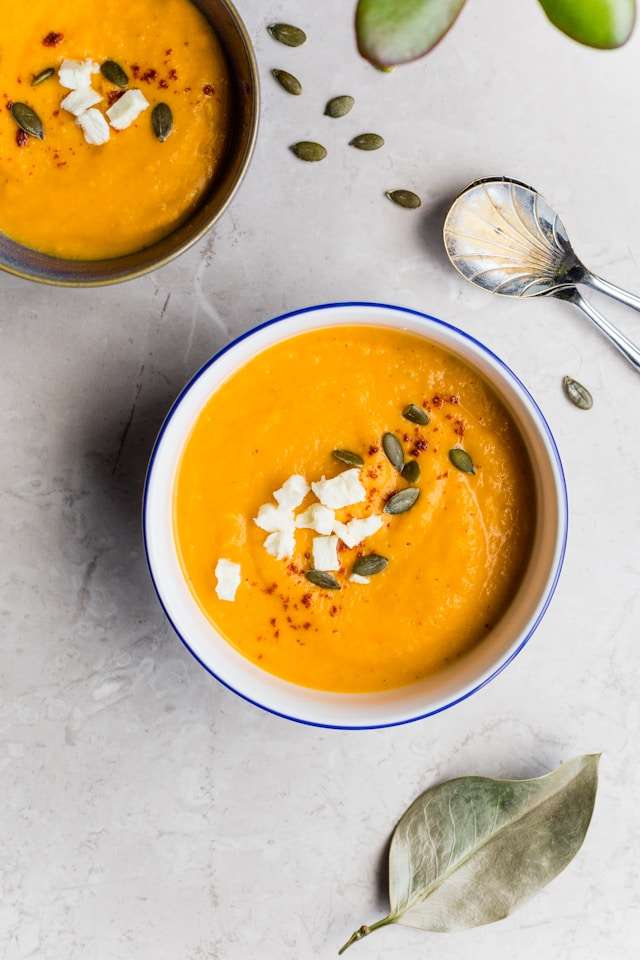
Oftentimes when it comes to food photography, it takes time to get the perfect shot. As the food sits out for some time it may dry up. Some foods dry out faster, so make sure to avoid that. Here are some ways to avoid that, grab a tiny bottle and fill it up with water. From time to time spay your food with water. The other way is to put some oil on a brush and brush your food with the oil. This technique keeps your food from drying out and ensures that the food looks fresh in your shots.
Oftentimes when it comes to food photography, it takes time to get the perfect shot. As the food sits out for some time it may dry up. Some foods dry out faster, so make sure to avoid that. Here are some ways to avoid that, grab a tiny bottle and fill it up with water. From time to time spay your food with water. The other way is to put some oil on a brush and brush your food with the oil. This technique keeps your food from drying out and ensures that the food looks fresh in your shots.
The Crown & The Heel
It’s burger o’clock somewhere!
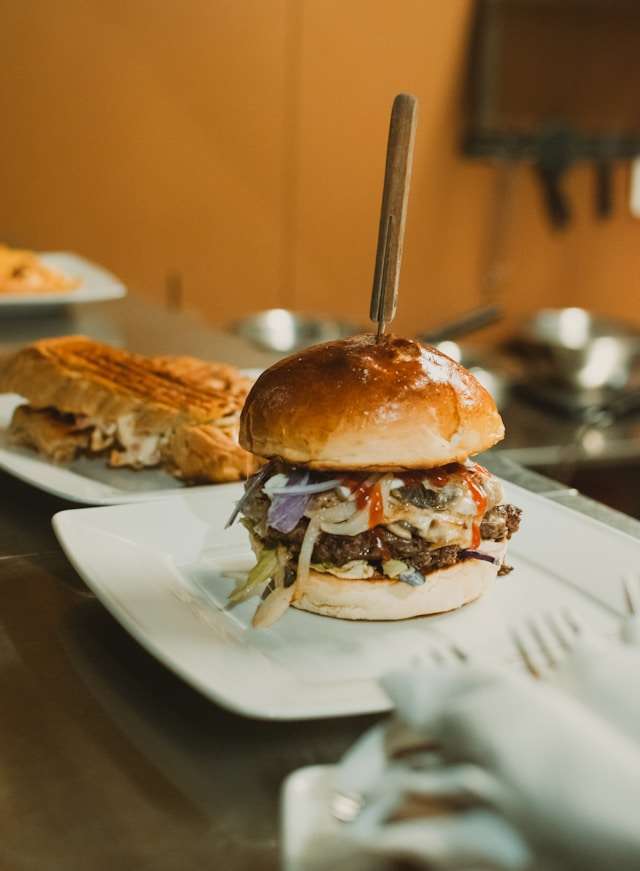
This term refers to burger shoots, the crown resembles the top part of the burger bun and the heel is the bottom part of the burger bun. This is just a term to speed things up when you need to replace either the crown or the heel of the burger during a shoot. As both parts need to be prepared differently. Usually the top part of the bun, the crown, will tend to have extra oil on it. In order for the burger to look more appealing and juicy in the photos.
This term refers to burger shoots, the crown resembles the top part of the burger bun and the heel is the bottom part of the burger bun. This is just a term to speed things up when you need to replace either the crown or the heel of the burger during a shoot. As both parts need to be prepared differently. Usually the top part of the bun, the crown, will tend to have extra oil on it. In order for the burger to look more appealing and juicy in the photos.
Food Rigging
Not getting your food to stay still?
Here is where you get to change careers and become a magician. Food Rigging is where you give the illusion that your food is standing still when in reality there are things within and behind the food keeping it from falling apart. Advertised food, such as fruits stacked on top of one another, tend to have toothpicks/wooden skewers within them and an object behind them holding it still.
A good way to capture this technique is to keep the iPhone on a Tripod, so you can do the food rigging without changing the angle of the shot.
The Martini Shot
Who doesn't love a good Martini?
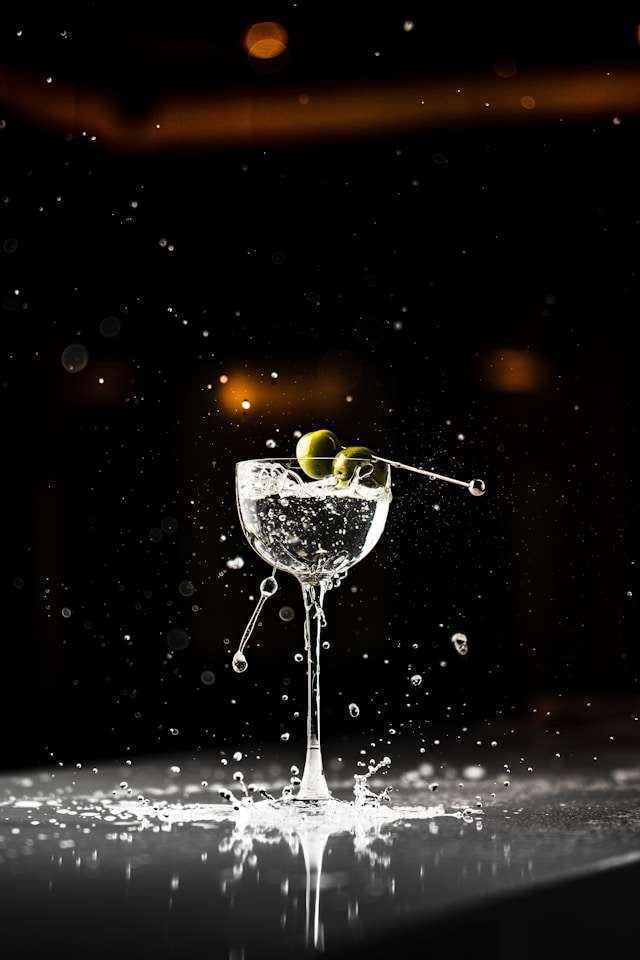
This term refers to the favorite shot of the day, which is usually saved for the end as the last shot. This last shot comes with a celebration for everyone's work on the set. It tends to involve a lot of food and drinks, with music in the background.
People can then eat the food at the end of the last shot and have fun.
Focal Point
Tell your story by choosing your subject.
Then focus on that subject, determine the angle and space surrounding that subject.
Incorporate items within that space to draw in your views attention and take your shot!
Then focus on that subject, determine the angle and space surrounding that subject.
Incorporate items within that space to draw in your views attention and take your shot!
Choosing the Subject
When it comes to selecting the subject of your image, you should first think of the story you want to portray. Make sure there is enough lighting hitting the subject, in order to emphasize it. The surroundings matter, think of what to include outside of the subject. Incorporating objects around the subject is another way to emphasis it and draw the viewer's attention in.
Angles
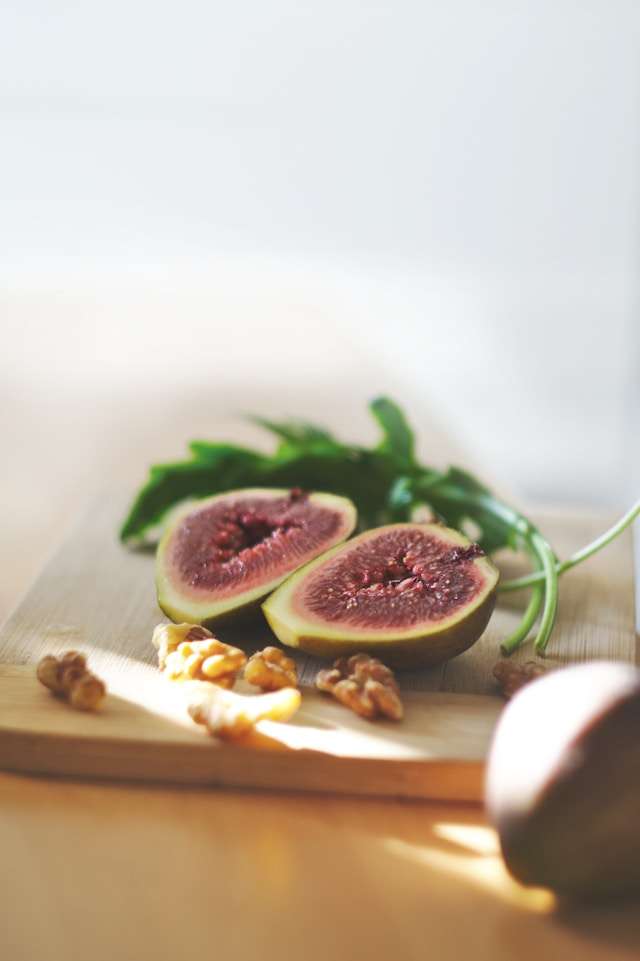
You might have heard this many times before and yes angles are crucial to your photos! Especially when it comes to food photography, you’re going to be busy setting up, styling, and rigging your food. Having a steady and focused angle is important. As mentioned above one of the things that can help with that is an iPhone Tripod. Another way of keeping your angles intact is to have your grid setting on and follow the rule of thirds. Placing the subject on the right or left third on the image.
Negative Space
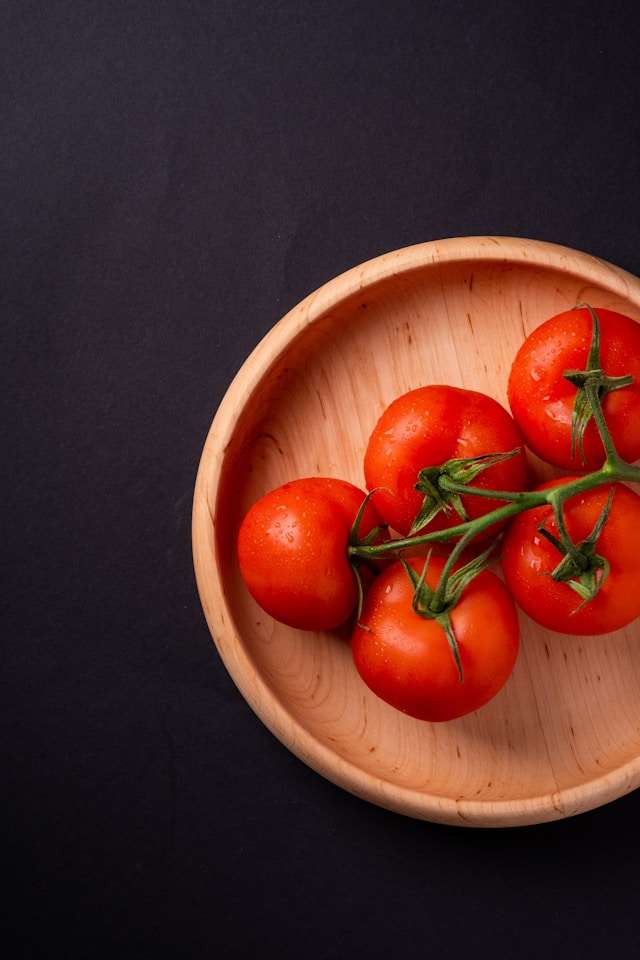
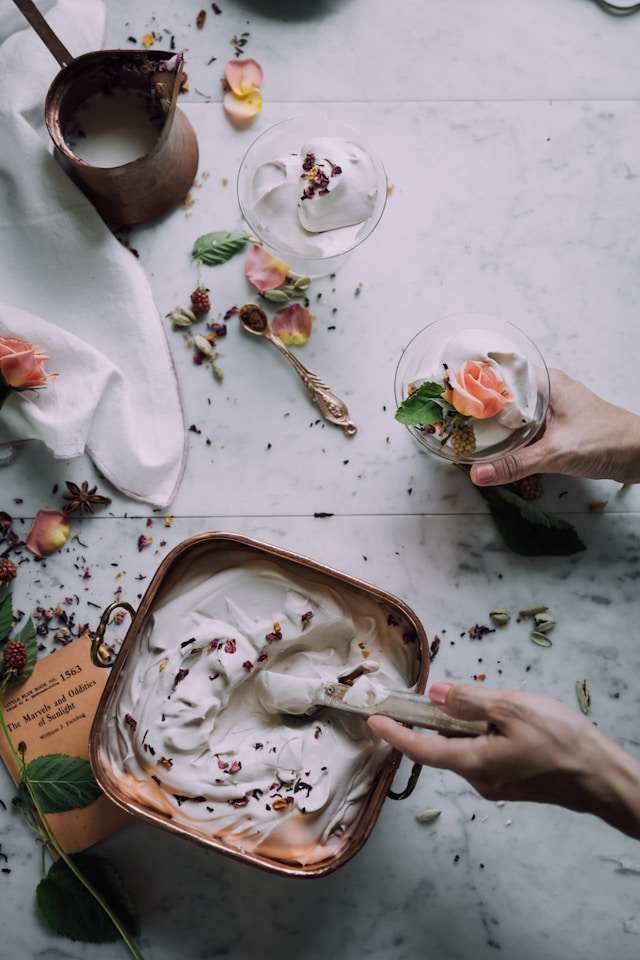
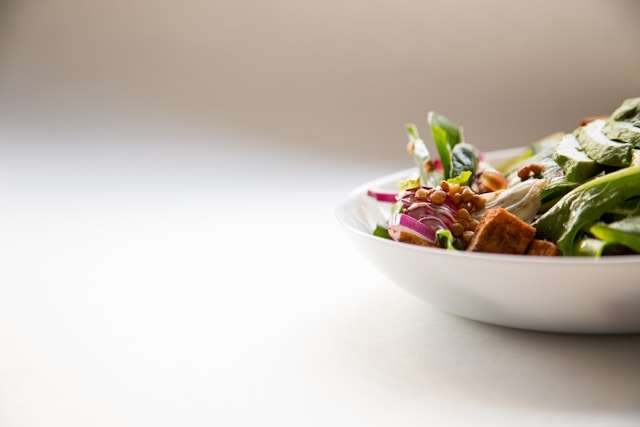
Every photo needs negative space in order to have the subject stand out. When an image has negative space it provides breathing room for the viewers, and draws in their eyes to the subject. It's like you're using the space to guide the viewer's eyes to what's important, your subject!
Here are some ways to incorporate negative space in Food Photography:
- Try framing your subject in a way that captures more space surrounding it.
- Take a moment to look at the main subject and move around it.
- Place your food plate on one side of the frame and capture the background/table on the other side.
- Create space within the food plate itself, showing off the texture of the plate on one side and the
food on the other.
Macro Lens
Now if you're curious about setting up your food photography game, try the Macro Lens!
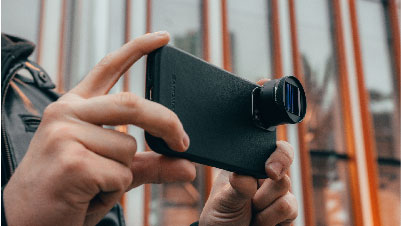
Capture every small detail of your food with the Macro Lens.
The video below was filmed on the Macro Lens, click to uncover more of what it can do.
Capture every small detail of your food with the Macro Lens.
The video below was filmed on the Macro Lens, click to uncover more of what it can do.
Author's Bio
SANDMARC offers photography gear for mobile creators, including top-tier lenses, filters, and accessories that elevate iPhone photography. Trusted worldwide, our products help users capture stunning visuals in any setting. Our blog provides tips, guides, and inspiration to enhance your creative journey, with advice and industry updates from our passionate team.
For more insights, explore the SANDMARC blog and find us on Instagram, YouTube or TikTok.
For more insights, explore the SANDMARC blog and find us on Instagram, YouTube or TikTok.

