A Guide to Night Photography and Filmmaking
Learn how to get crisp shots at night.
Warm summer nights call for outdoor parties, dinners with friends, and beautiful late-night walks around town. Capturing these moments can be difficult when the sun is down, and all you have to work with are various lighting fixtures. Don’t let tough lighting stop you from taking photos and videos with high quality. Here is your guide to all things night photography.
Below are three iPhone camera tools you can use to amplify your night photography and filmmaking.
1. Night Mode
Night mode is a feature on your iPhone that is capable of creating sharp and grain-free night photos. The camera will capture multiple shots over the course of 1-3 seconds and then combine them into one high-quality photo.
Night mode on the iPhone makes the shutter stay open longer to capture more light. The shutter speed is the duration of time that the camera's shutter remains open during the process of capturing an image. Night mode is only available to use while taking a photo, and is not available while creating a video.
When Do I Use Night Mode?
Night mode is perfect to use in any low-light environment. You want whatever you are pointing your camera at to be still. The downside to night mode is that it isn’t effective in a pitch-black setting. It’s meant to be used in a minimal or low-light setting.
Do I Need a Tripod?
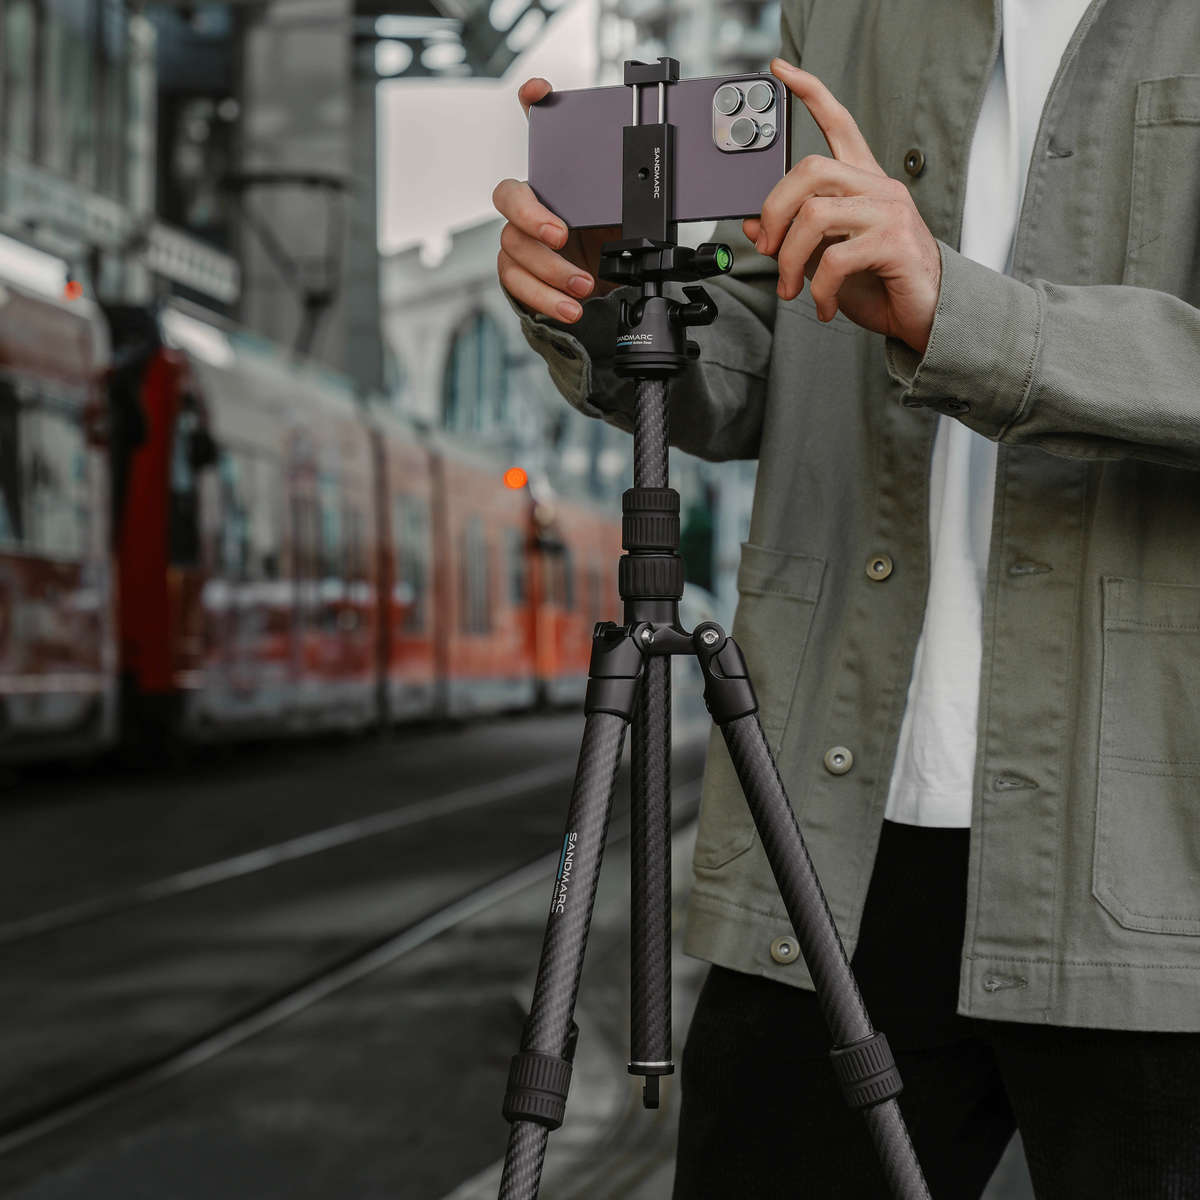
In order to get the sharpest image in night mode, using a tripod is highly recommended. Since the shutter speed is slow, any small bump can create a blur in your night mode photo.
Where Is The Night Mode Button?
The night mode option on your iPhone is already available in your camera settings. When you open your camera app in a dark environment the night mode button will appear on the upper left corner. The icon is a yellow moon.
To change the shutter speed click the upward arrow in the upper middle part of your screen. After clicking the arrow, a row on the bottom of your screen will appear and you will see the moon icon. Click the moon icon and a grid will appear that allows you to slide between 0-3 seconds to change the shutter speed.
Night Mode and SANDMARC's Motion Variable Filter
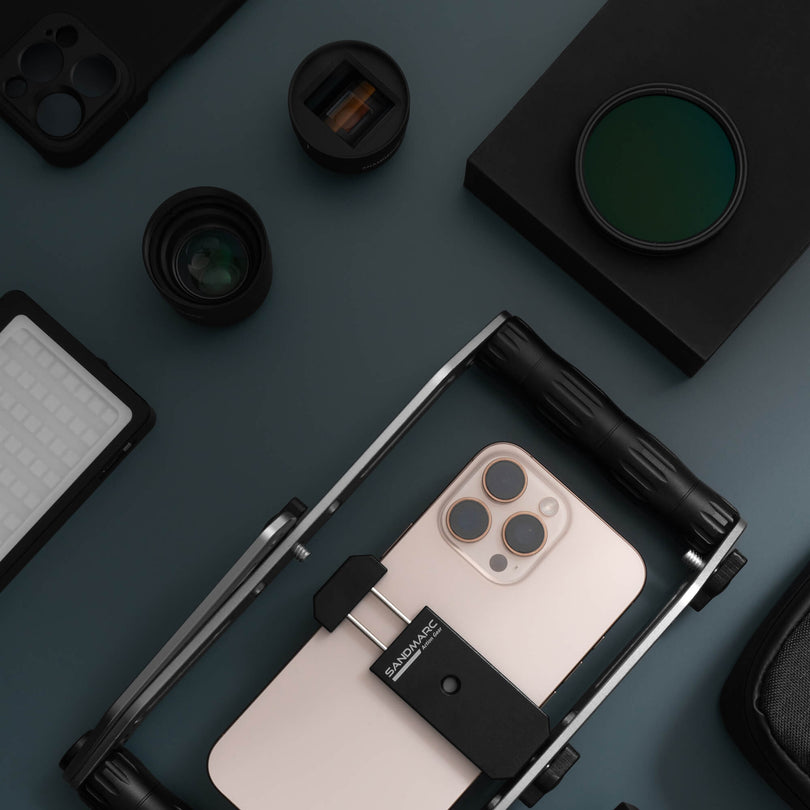
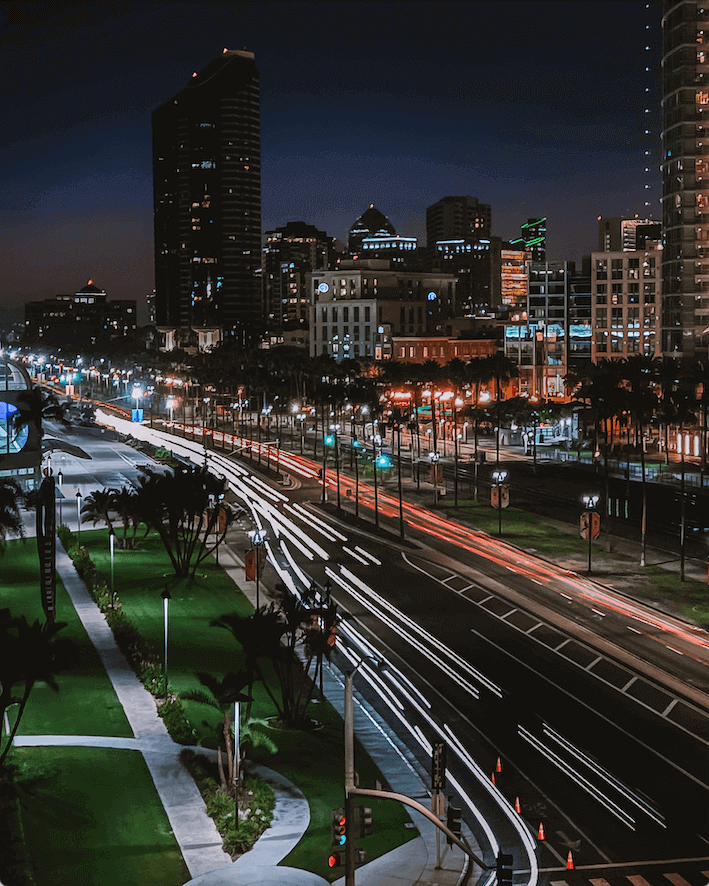
The Motion Variable Filter allows you create long exposure photography and add cinematic motion blur for upping your filmmaking game. The Motion Variable Filter allows you to manipulate the amount of light entering your camera lens. Using night mode along with the Motion Variable Filter will allow you to create crisp long exposure shots at night.
2. RGB and Bi-Color Lights
The RGB and Bi-Color lights are perfect for consistent lighting on the go. RGB stands for the additive colors red, green, and blue. The RGB color light has over 16 million hues with a versatile spectrum of colors. This gives you the ability to manipulate your shot and make them more moody.
If are wanting more warm to cool temperature lighting the Bi-Color light is the way to go. The Bi-Color light is our most powerful light with a brightness power of 800 Lux. 800 Lux makes it the perfect lighting for night photography.
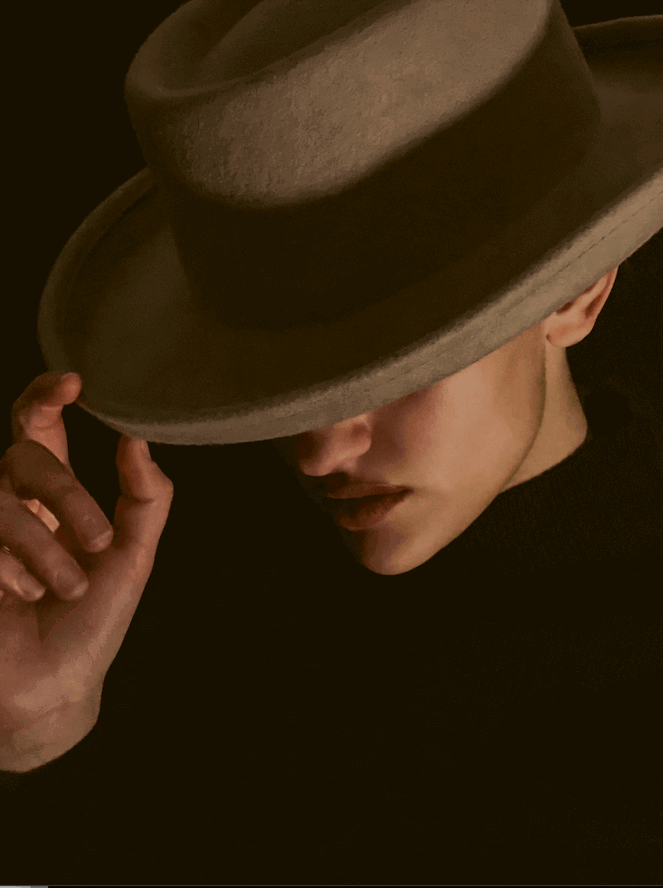
Before RGB Light
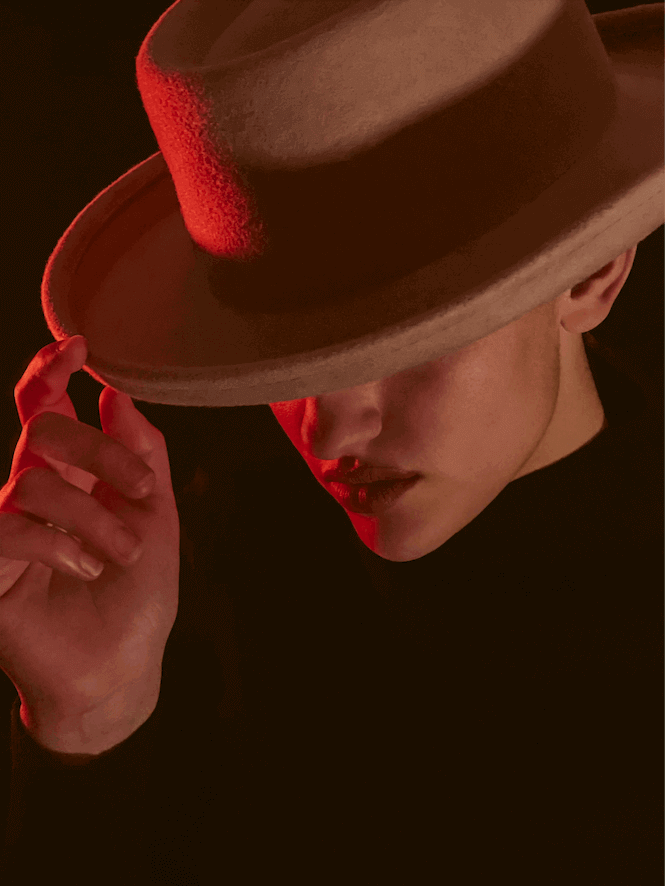
After RGB Light
When Do I Use RGB and Bi-Color Lights?
The RGB light is best to use for dramatic lighting, and if you are wanting to add more color to any shot. The Bi-Color light is perfect to use as a main light or fill light in night shots. The various color temperatures give you creative freedom when it comes to night photography.
For more details about RGB lighting check out our Guide to RGB Lighting.
How Do I Mount The RGB and Bi-Color Light On My iPhone?
SANDMARC has a universal mount adapter that allows you to connect both lights to your iPhone, MacBook, and iPad.
3. Cloud Diffusion Filter
The Diffusion Filter allows you to create a dreamy glow effect when snapping photos. Your images will be sharp and contrast while giving bright objects a nice glow. Any shadows in your photo will be lifted while keeping the contrast and sharpness intact. This filter will give a vintage feel to your photos and videos.
When Do I Use The Cloud Diffusion Filter?
The Cloud Diffusion Filter is best to use when surrounded by lights in a night or low-light setting. To gain the most out of the filter it is best to be around many different lighting fixtures.
How Do I Attach The Cloud Diffusion Filter On My iPhone?
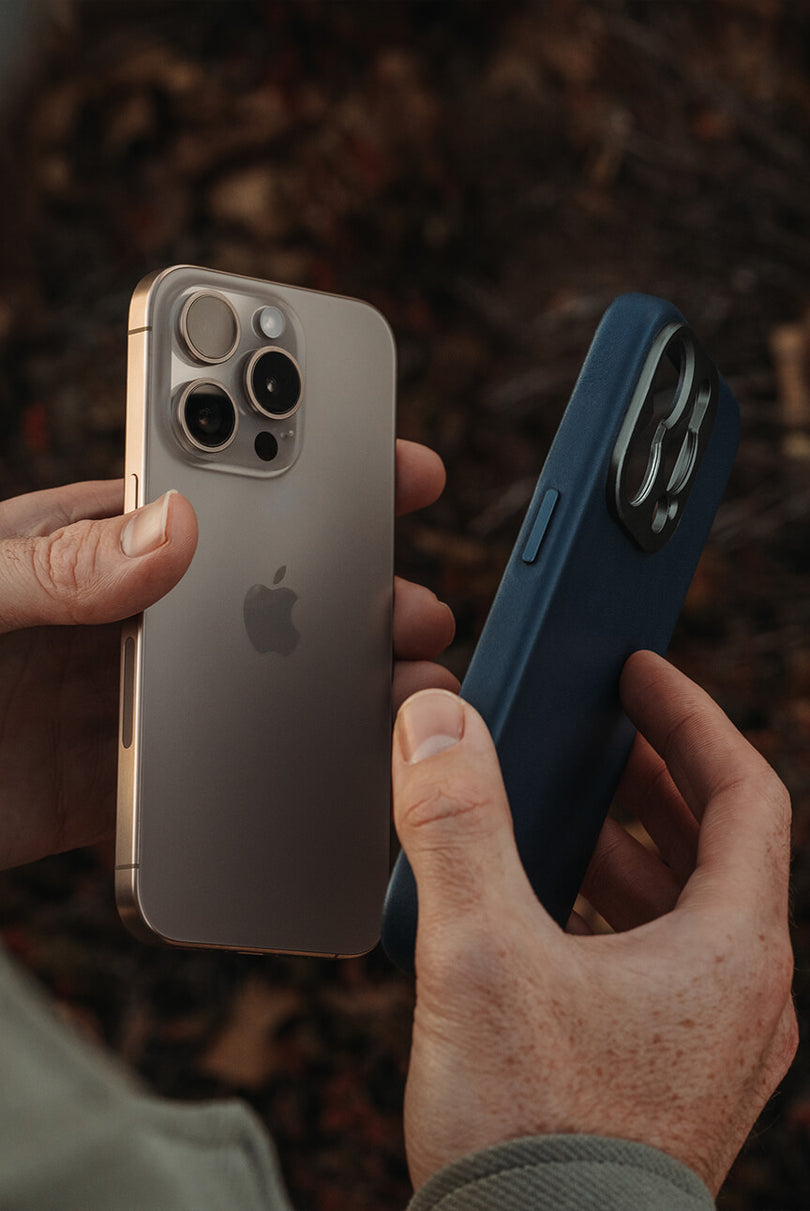
The Cloud Diffusion Filter comes with a universal clip-on mount that allows you to easily place your filter over your iPhone lens. Cloud Filters can also be used with our iPhone Cases using a Step-up Ring.
Shooting in low light can be complicated, especially at night when there is no natural light from the sun. Understanding how to use these tools we listed will make a huge difference in your night photos and videos.

