7 of the Best iPhone Video Settings
You'll want to adjust your settings immediately after reading this list.
The camera settings on your iPhone are the foundation of your videos' visual quality. While there are many other key components, like color grading and lighting, that impact your video, having the best settings on your iPhone will allow for even better quality. We recommend seven settings that will give you a great start to ensure you create the highest quality videos on your iPhone.
7 of the Best iPhone Video Settings
1. Resolution
For the best resolution, switch your video settings to 4K. Even if the final product is going to be exported as HD, a downscaled 4K to HD looks sharper than an HD export that was originally shot in HD.
2. Motion Blur
Motion blur is achieved when the motion in a video is depicted as it is seen in reality. 24 fps is the standard setting for motion blur, but you need to match it with your shutter speed. The rule of thumb is to always double the frame rate to get the shutter speed; so for 24 fps, the shutter speed will be 1/48.
However, with the native iPhone camera app, switching to 24fps does not allow you to fully achieve that look. This is because the iPhone accommodates to the light, and will by default adjust the shutter speed to a higher number making your footage very choppy.
However, with the native iPhone camera app, switching to 24fps does not allow you to fully achieve that look. This is because the iPhone accommodates to the light, and will by default adjust the shutter speed to a higher number making your footage very choppy.
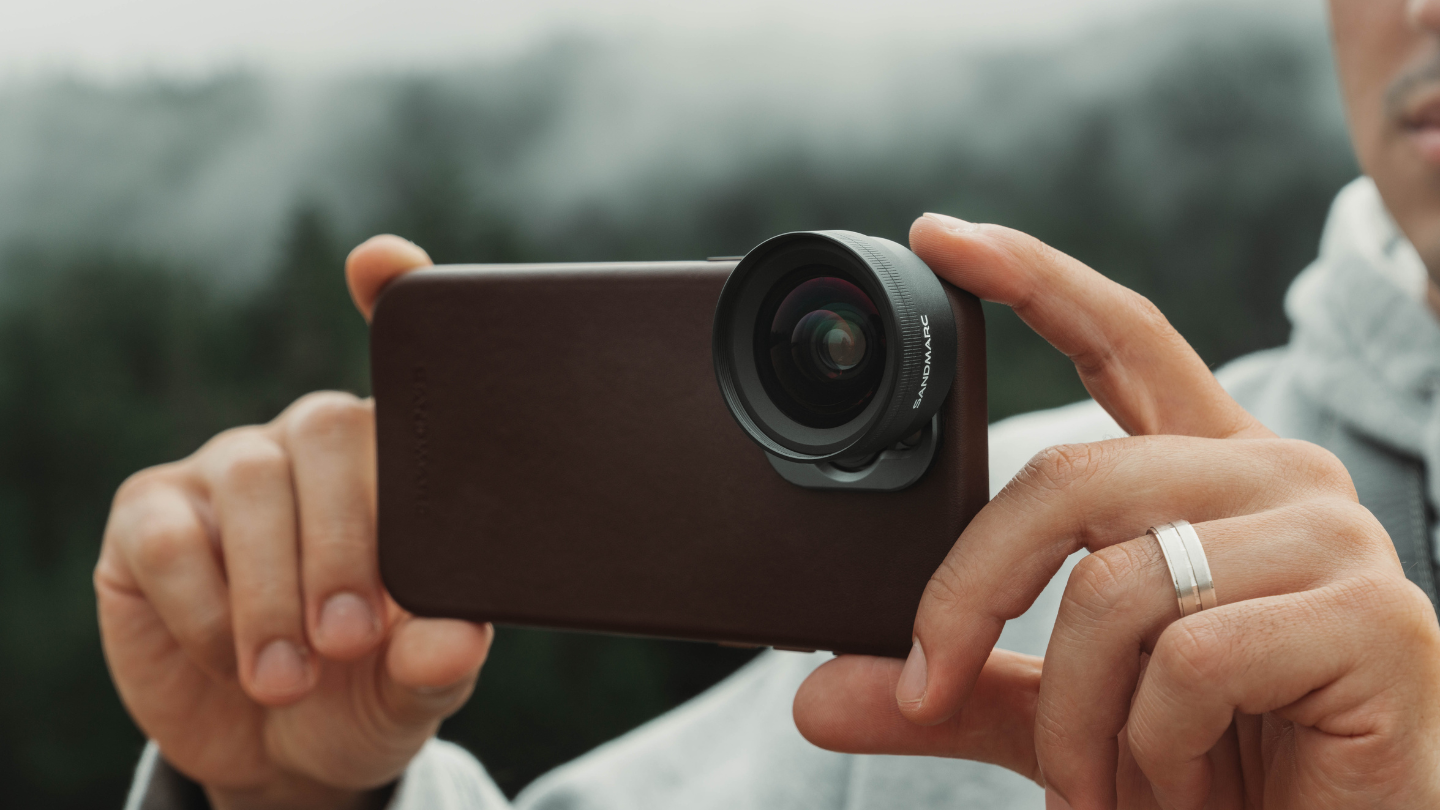
You can fix this issue by adding a Variable ND or regular ND filter onto your camera lens. An ND filter blocks a lot of light entering your lens, allowing you to change your shutter speed to 1/48 for 24 fps.
Examples with the Motion Filter begin at 3:49.
3. White Balance and Exposure Controls
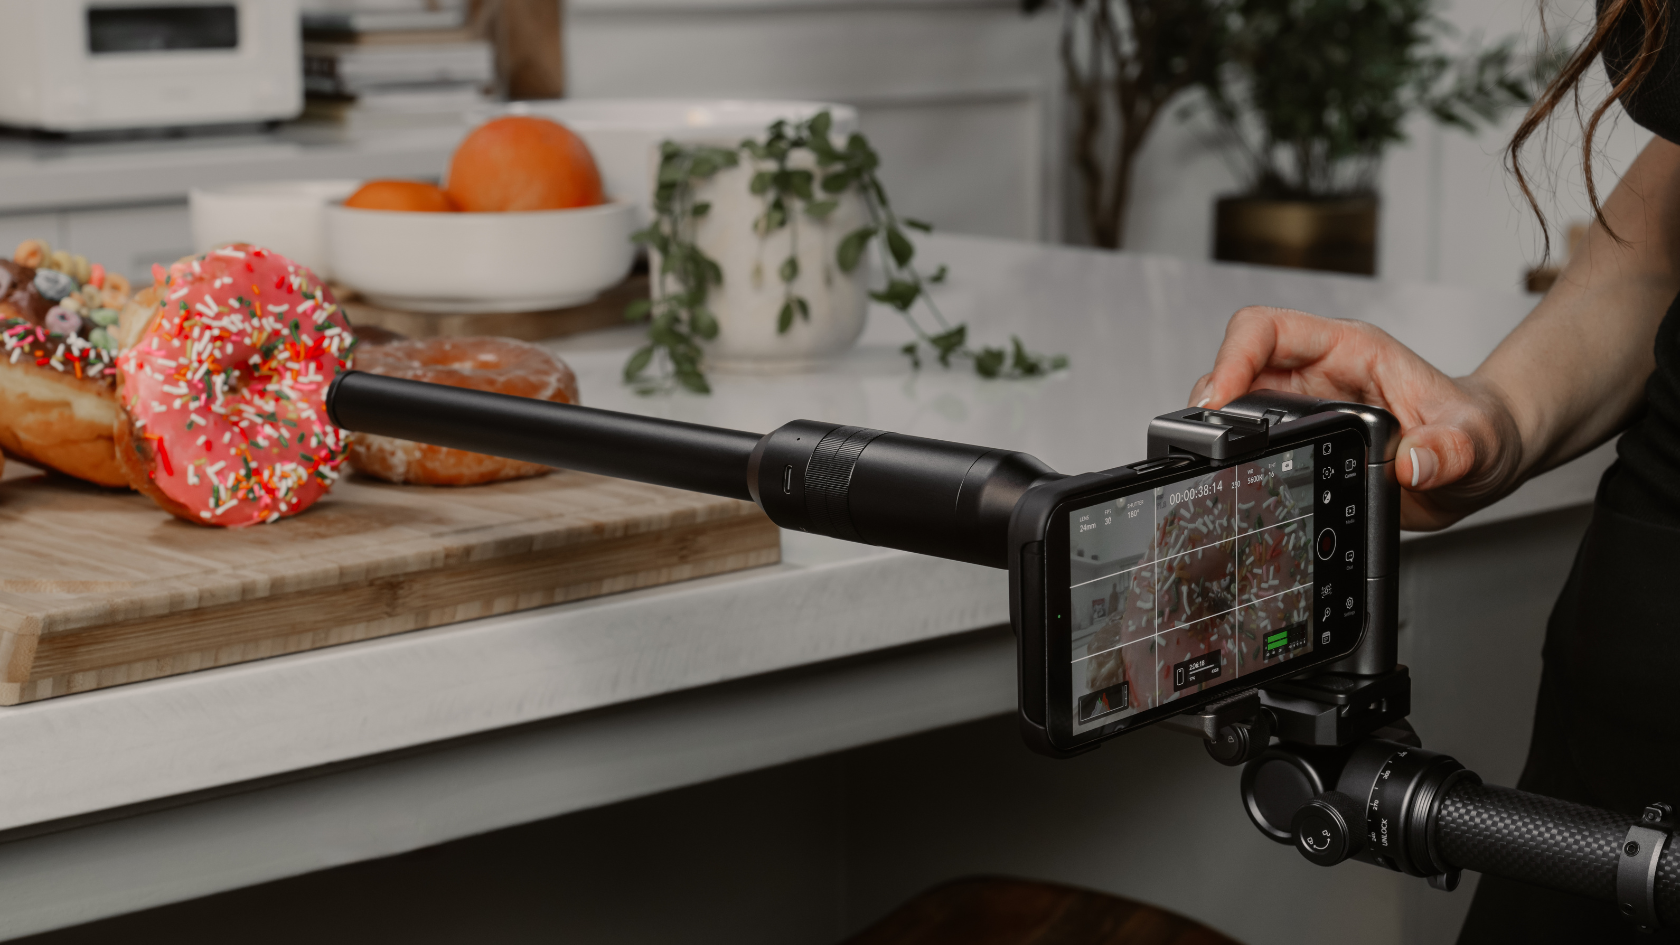
The iPhone automatically adjusts your white balance and exposure while you're recording video, which is great for shooting quick, casual videos for memories or just for fun. However, if you're using the iPhone for any level of videography, it's best to lock the white balance and exposure. This ensures the white balance does not change while you are recording. Changes in white balance and exposure during a video clip look unprofessional, to say the least.
In Settings, under Camera > Record Video, scroll down and turn on 'Lock White Balance.' The iPhone will adjust the white balance before you start recording, similar to how you lock exposure. Instead, the iPhone will adjust the white balance before you start recording, similar to how you lock exposure. To lock exposure, simply hold down on the part of the frame you want to keep in focus. Then you'll see a button that says AE/AF Lock—the native iPhone app automatically locks both exposure and focus together.
In Settings, under Camera > Record Video, scroll down and turn on 'Lock White Balance.' The iPhone will adjust the white balance before you start recording, similar to how you lock exposure. Instead, the iPhone will adjust the white balance before you start recording, similar to how you lock exposure. To lock exposure, simply hold down on the part of the frame you want to keep in focus. Then you'll see a button that says AE/AF Lock—the native iPhone app automatically locks both exposure and focus together.
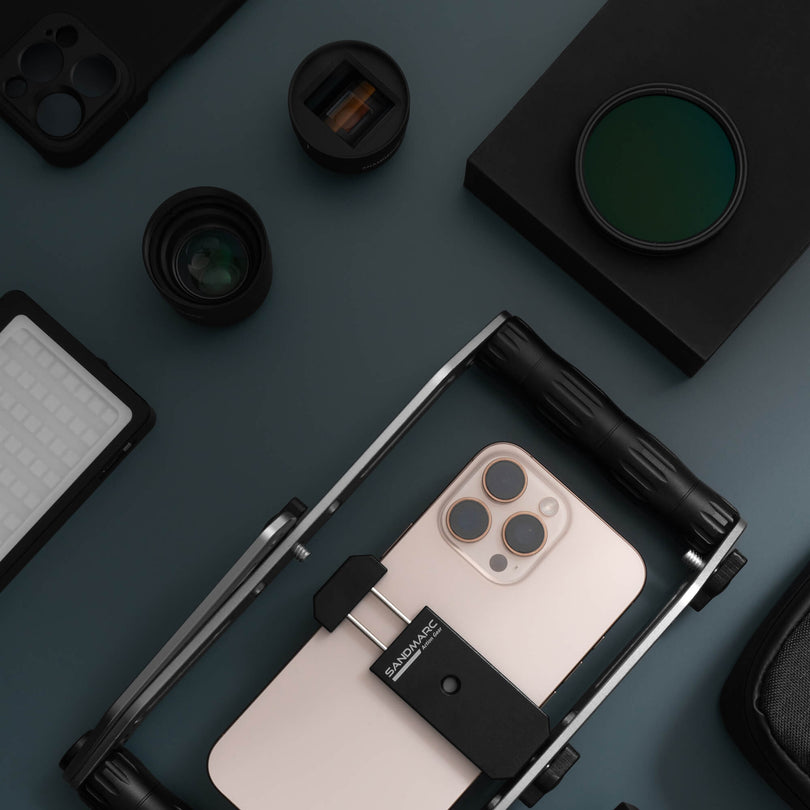
4. Stabilization
For the best results, use a tripod for static shots and a gimbal for moving shots. However, if you prefer to shoot handheld, switch to 'enhanced stabilization' in Settings. This feature will smooth out your footage even more by digitally compensating for shake, although it will reduce the resolution slightly. While this might not be ideal for the best image quality, the benefit of smoother footage can outweigh the cost in certain scenarios.
Action mode offers a higher level of video stabilization but sacrifices image quality and does not support 4K resolution. This will also reduce resolution, but in many cases, the improved stability will be worth it.
5. Slow Motion
Avoid using the slow-mo mode. Instead, switch the fps from 24 to 60fps. It will play back in real-time speed, but in your video editor, you can adjust these 60fps clips to play back at 40% speed, which translates to 24fps.
Generally, try to shoot real-time footage that you know you won't be slowing down later at 24fps, and switch to 60fps when you want the ability to slow it down afterward. Keep in mind that 60fps will take up significantly more space than 24fps because it stores more still images per second of video.
Note that you won't be able to shoot in 4K in slow mode, only in HD.
6. ProRes
ProRes is Apple's popular codec that offers 10-bit color depth, allowing much more flexibility in post for color grading. Just know that if you record in ProRes on the iPhone, you're recording in ProRes 422 HQ, which means that every minute of 4K video will be around 6GB. If you'll be doing in-depth color grading and have the capacity for it, I'd suggest switching to ProRes. You can do this in settings.
Go to Settings > Camera > Under Video Capture, select Apple ProRes.
Go to Settings > Camera > Under Video Capture, select Apple ProRes.
If you try to record in ProRes mode internally, you'll see this message pop up saying your iPhone is not able to record in 4k or HD at 60fps.
That's why, if you want to record 4K up to 60 fps, you'll need an external SSD. Just plug it in, and you're set. Plus, you won't need to worry about taking up space on your iPhone with all that huge ProRes 4K footage.
7. Color Profile + Apple Log
Shooting in Log increases your dynamic range, retaining more information in highlights and shadows. Short for logarithmic, it describes the gamma curve. Do this by selecting ProRes, then choosing Log for your encoding.
There are many tutorials that go into depth on how to best grade Apple Log footage, so it's worth researching. There are also many free LUTs available for converting Apple Log footage into Rec.709, but you can do it manually as well. For example, in DaVinci Resolve, you just need the ACES color transform effect: set the input gamma to Apple Log, and the output to Rec.709.
From there, you can apply further stylistic LUTs that are made to work with Rec.709 footage. The major downside is that shooting in Apple Log on the native camera app is only possible when you're in ProRes. This version of ProRes that the iPhone natively captures is ProRes 422 HQ, which is 17 times larger than H.265.
How to Utilize a Third-Party App
While the native iPhone camera app has a good number of features, to go fully manual, a great app to use is the new and free Blackmagic Camera App. You will have full control over ISO, shutter speed or angle, fps, lens, etc.
You can choose to shoot in Rec.709, Rec.2020, or Apple Log—although in this app, it's HDR, so the approach to color grading will be a bit nuanced. You can also choose to shoot in ProRes or H.265/H.264. This way, you can take advantage of this amazing color grading space with 17 times less storage than Apple's native ProRes, while regular ProRes 422 is 12 times larger than HEVC or H.265.
Of course, the small file size of H.265 comes with some downsides, such as over-compression artifacts and noise, but overall, it's a great option if you don't want to store hundreds of gigabytes of video for just one shoot.
You'll notice this app gives you the option between H.265 and H.264. Essentially, H.265 is the newer, more efficient version of H.264 and allows 60 fps in 4K, while H.264 supports up to 30 fps in 4K. However, on many moderately older computers, H.265 will run slower in your video editors due to its newer and more complex compression.
Learning how to adjust your settings can take a lot of time and patience. Once you figure it out, your video quality will drastically improve. The learning curve is worth it for the quality of the videos.
Be sure to check out the video above for visuals on adjusting your settings.
Happy shooting!
Be sure to check out the video above for visuals on adjusting your settings.
Happy shooting!