How to use an iPhone Tripod
A Simple Guide
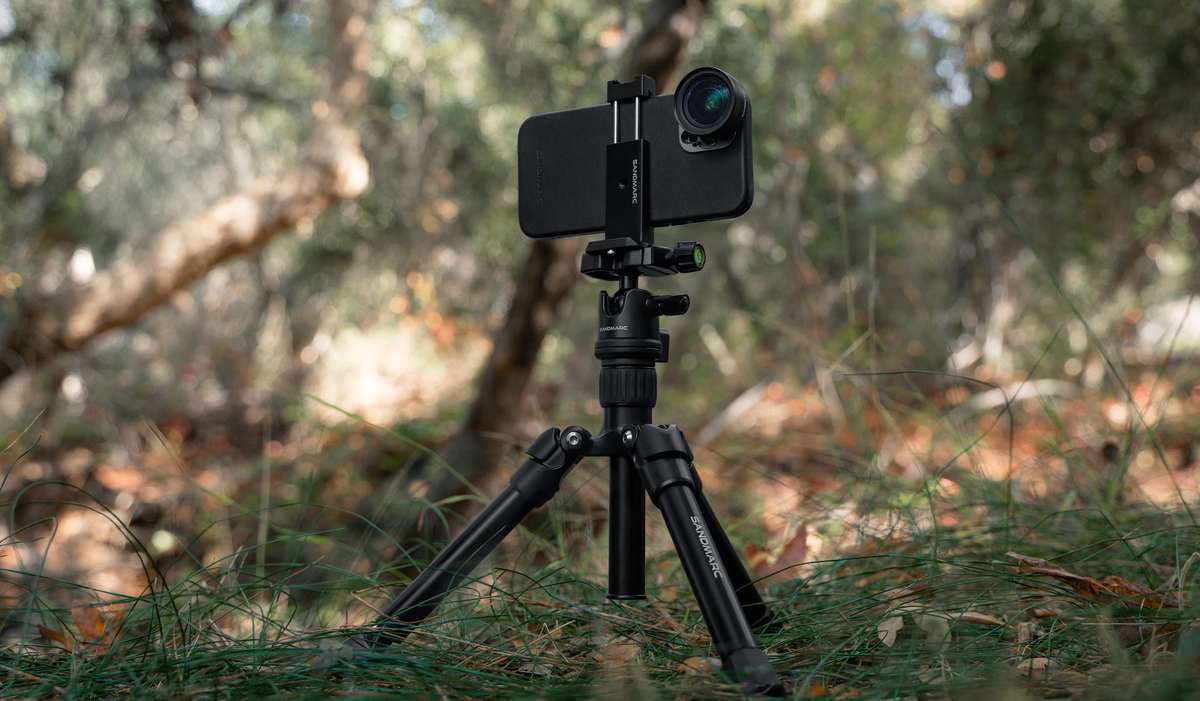
The front-facing camera on your iPhone 13 Pro is an incredible 12-megapixels. Yet, whenever you use it to snap photos, your shaky hand doesn’t do your photography justice.
Nor does your shaky hand do your photography justice when you try to get a lengthy exposure on your shots.
Isn’t it the worst?
You know all the tricks, including slowing your iPhone’s shutter speed down (using the help of a handy third-party iOS app) and making sure nothing is overexposed — but that doesn’t make a difference.
You can't keep your hand steady long enough to get a good photo. It always comes out blurry.
It’s a nuisance because you’re well aware that a tripod would be beneficial here. However, iPhones lack a mount that's compatible with the typical 1/4-20 tripod screw.
Sure, you could get an adapter for your iPhone. Yet, that’s even more to buy before your outings.
Wouldn’t it be easier to have a small, compact design that you can quickly adjust and bring with you? One that’s compatible with most iPhones and comes with an adapter?
We’re here to tell you that you can have precisely that. We’re proud to introduce the SANDMARC Tripod for iPhone.
However, getting your hands on this excellent tripod is only the first step to photography success. There are other considerations you need to know.
- How do you put the tripod to good use?
- When is the best moment to take it out?
- How can you ensure you're constantly getting the greatest photos out of it?
This simple guide will answer these questions and more. So, let’s explore and level up our photography together.
When should I use my iPhone Tripod?
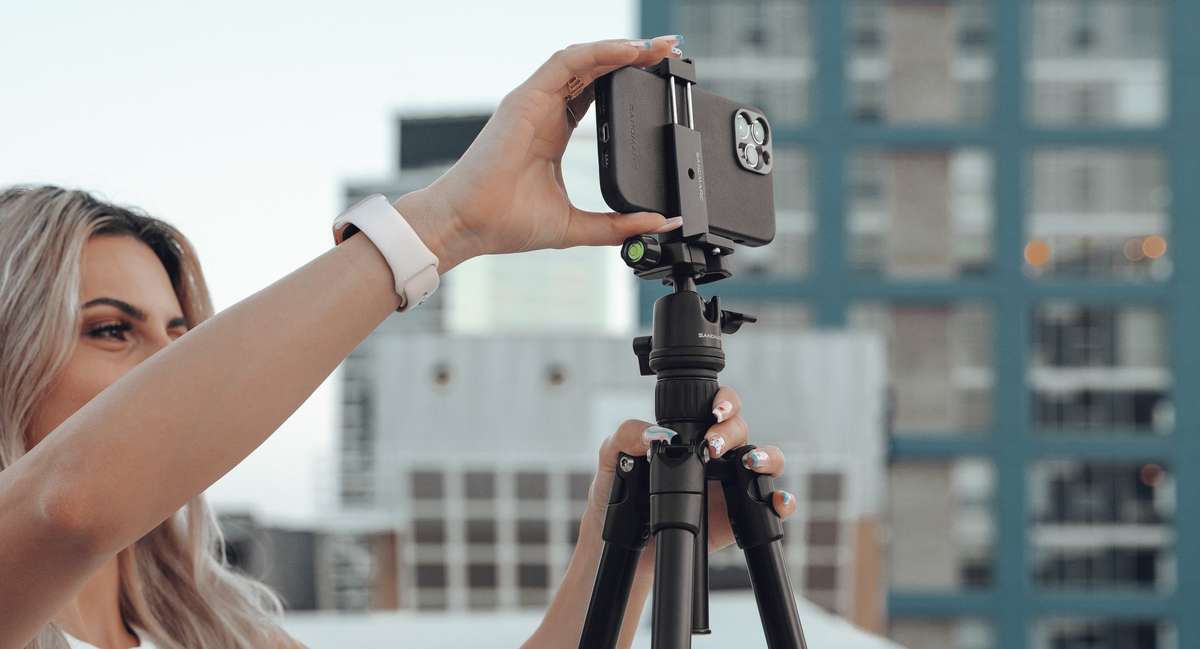
It’s a given you wouldn’t want to be setting up your iPhone tripod for every shot you take (but it never hurts to do so).
While sometimes the tripod might seem overkill for a simple photo, there are times when using a tripod is essential. These are the best moments to take out your tripod:
- When you’re using a slow shutter speed.
- When you want to hold the camera perfectly still.
- When taking low light photography.
- When you want a perfectly framed shot.
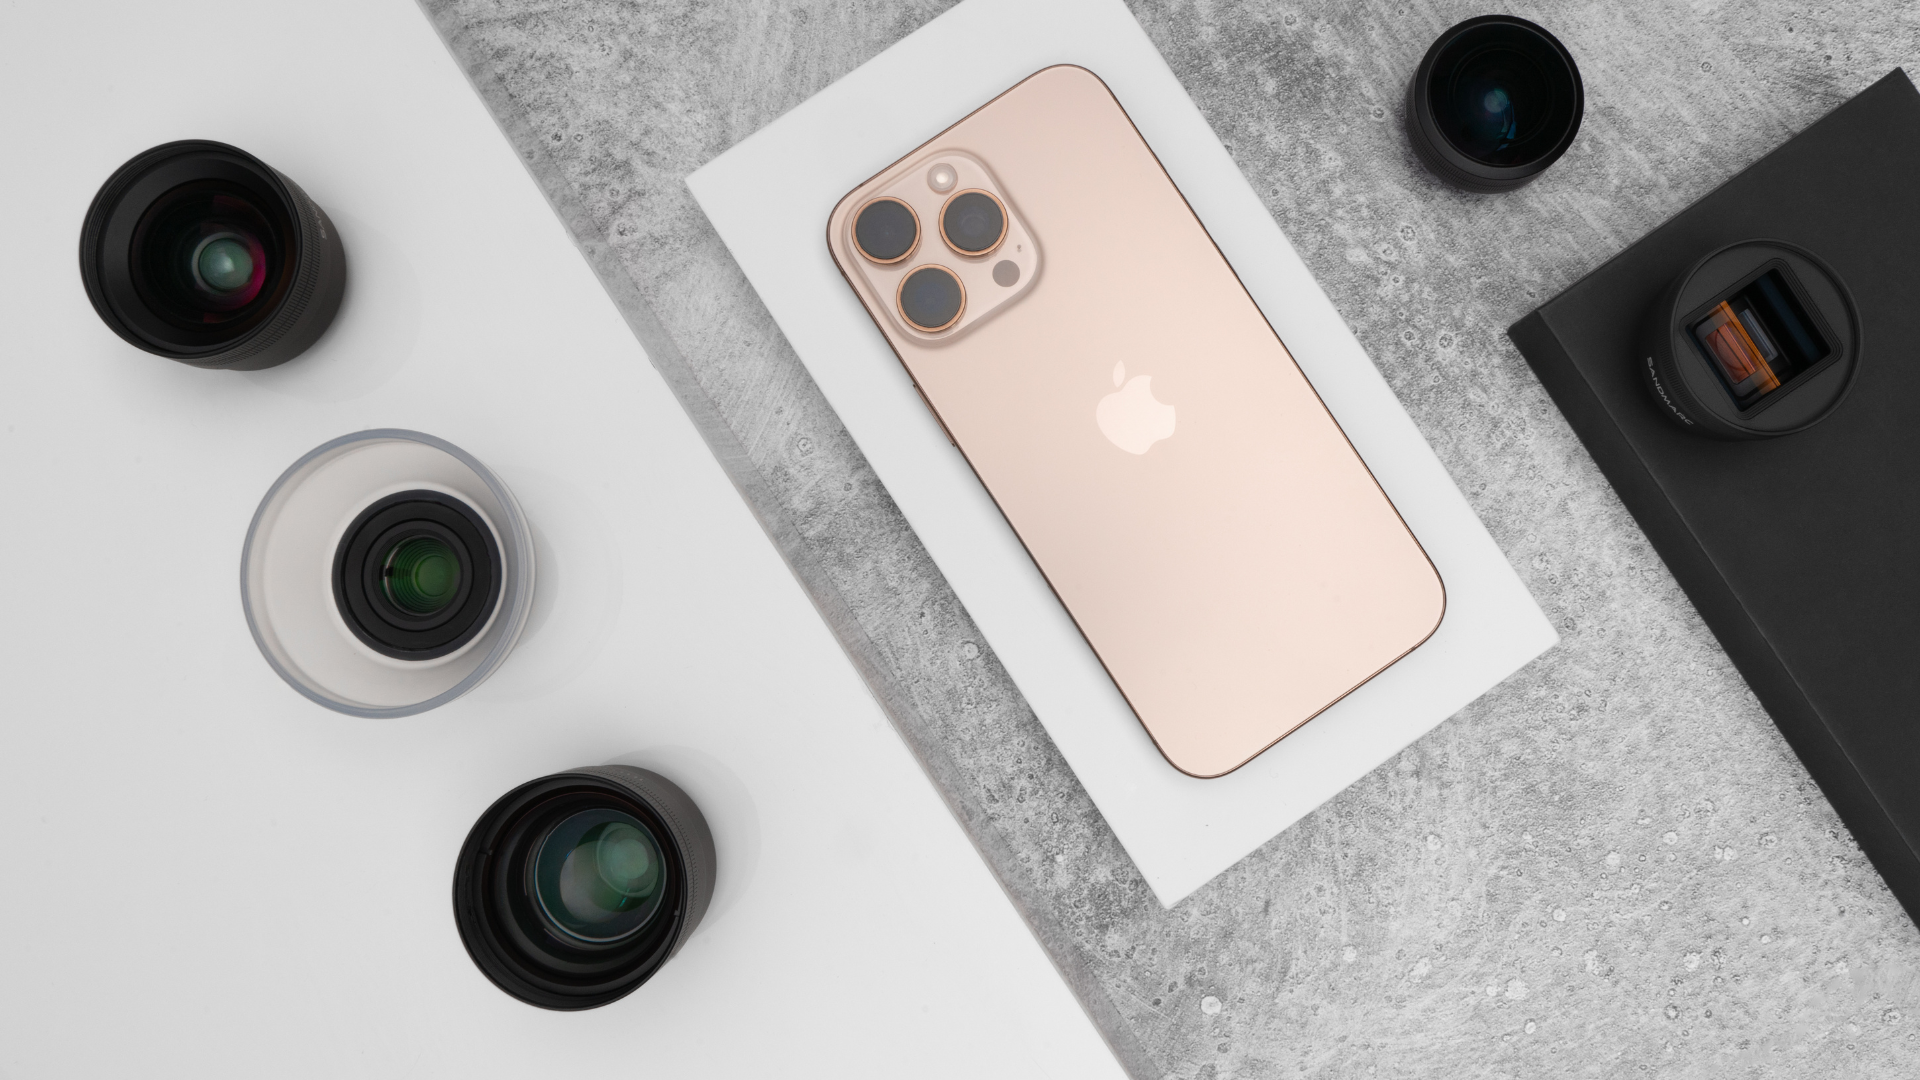
Pro-Tip: In these situations, you can maximize the quality of your iPhones photos and put your tripod to even better use by combining it with an extra lens.
One reviewer purchased a Telephoto Lens for their iPhone 12, and here’s what they thought:
“My new Sandmarc telephoto lens changed everything for me. I can’t always carry a DSLR, nor would I want to. But this lens is perfect. The iPhone is great but optical control and image has limitations. Sandmarc design is thoughtful and the quality and photographic integrity is excellent. I’m about to update from a wide angle I bought a year ago. If you have similar concerns I’d try Sandmarc first.”
Did you know? Thanks to the compact design of the SANDMARC Tripod for iPhone, it’s easy to carry the tripod around while keeping your iPhone attached to it — so you only need to set it up once before an outing.
So, you now know the perfect opportunities for using your iPhone tripod. However, how does one go about attaching their iPhone to the tripod?
It’s easy if you follow the proper steps. Here they are.
How do I attach my iPhone to a Tripod?
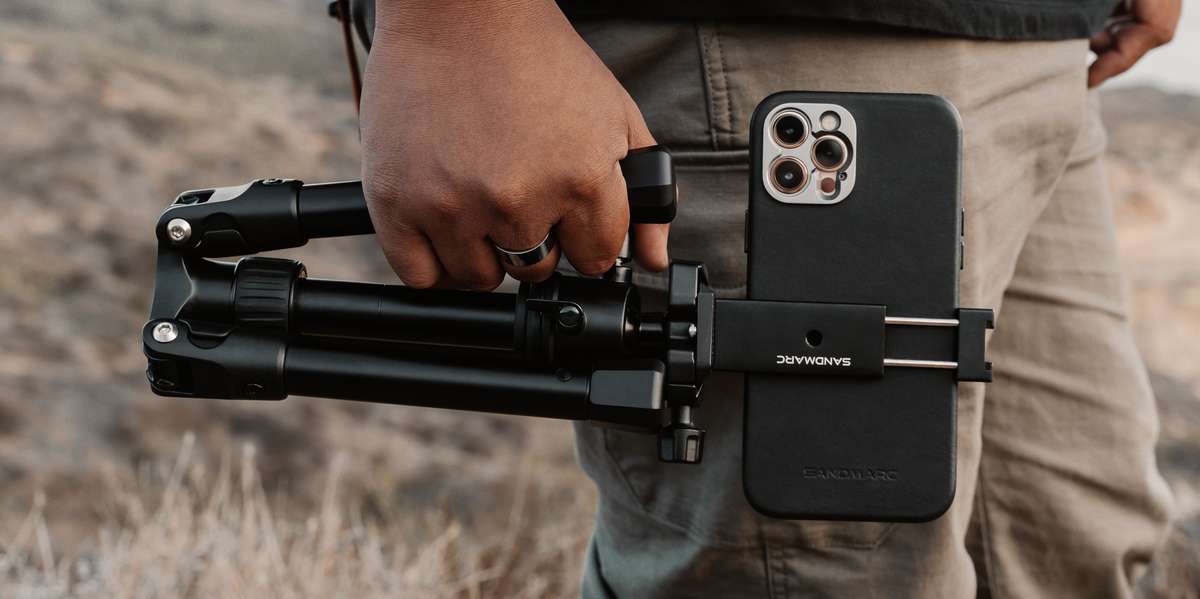
If you’re using a standard tripod, it’s a case of buying an adapter, attaching the adapter to your tripod’s 1/4-20 screw, sliding the iPhone into the adapter, and tightening it all up.
However, to be honest, each individual adapter model varies slightly — so giving exact instructions is difficult and non-reliable. Though, with the compact Tripod for iPhone — the task gets a little easier. It comes with an adapter, meaning guaranteed compatibility with your iPhone.
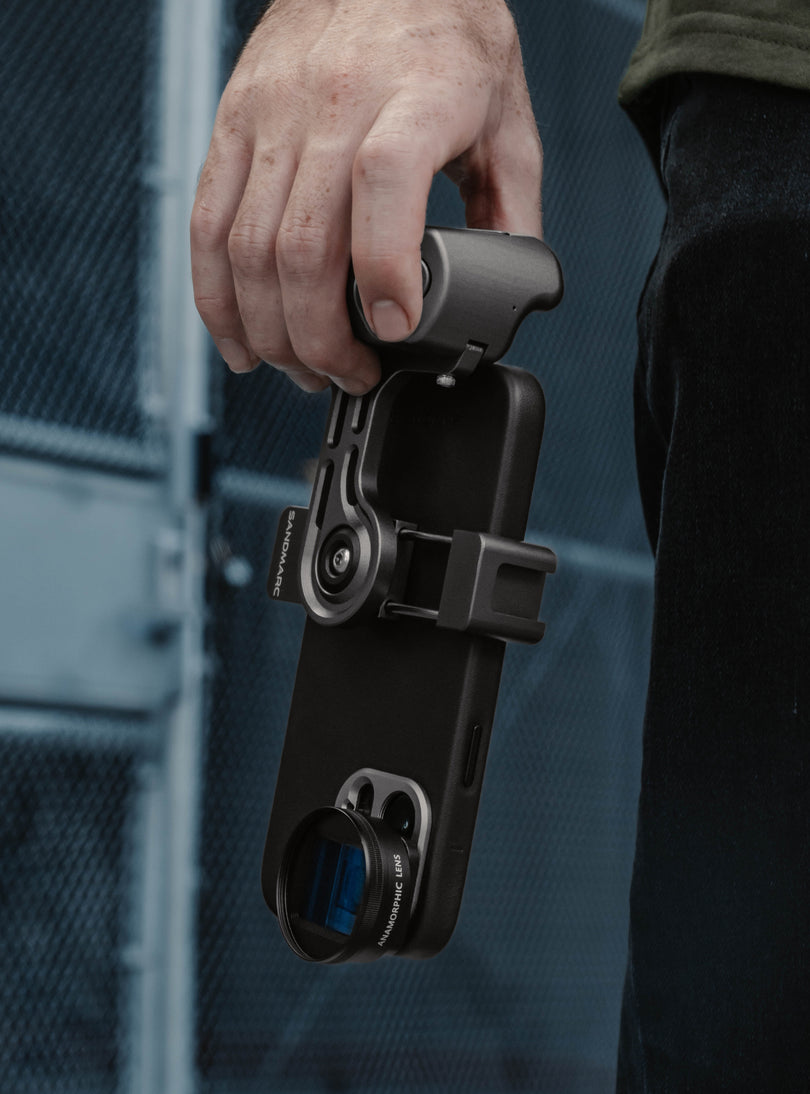
With this, all you have to do is attach the included adapter to the full-aluminum design of the tripod and secure your iPhone into place. Then, use the adjustable twist-and-lock mechanism to frame your perfect shot. It really is that simple.
Did you know? You can also attach a GoPro or DSLR/Camera up to 6.5 lbs (3 kg) to the Tripod for iPhone.
When your iPhone is fully attached, you can take photos in all kinds of environments. The design is made to withstand the most extreme conditions, but that doesn’t always mean your photos will look fantastic. You need to know the tricks of the trade.
Here’s how to use your iPhone tripod to get the absolute best shots possible.
How Do I Get the Best Shots With My iPhone Tripod?
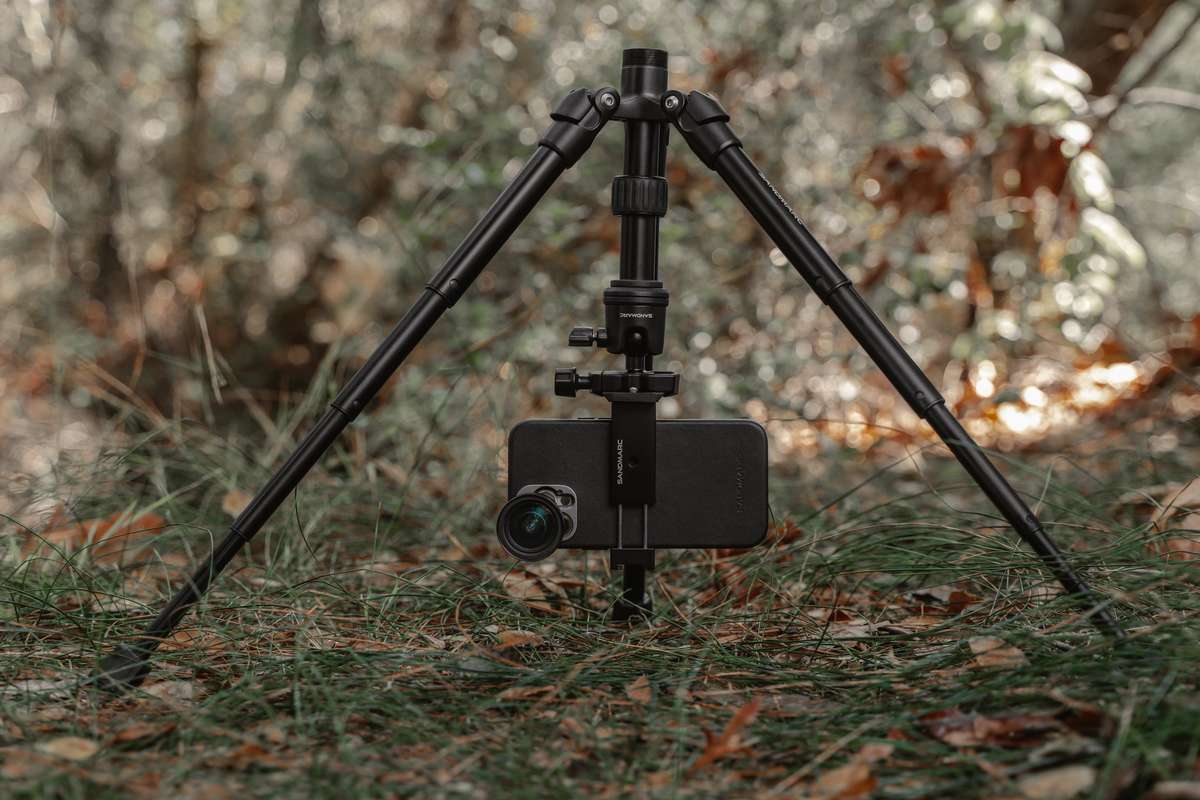
Your iPhone tripod already allows for steadier photos. Still, you can get even better shots if you spend time using the adjustable twist-and-lock mechanism before the photo to frame your shot perfectly.
However, there are a few other tricks to improve the quality of your photos using the iPhone tripod.
One trick is to only extend the tripod if necessary. Raising the tripod also reduces stability. In other words, if you keep the tripod as small as possible, your photos will come out much sharper.
You also want to set the tripod up on even terrain to keep your photos straight. The angled legs on the Tripod for iPhone can help with this.
Our tripod for iPhones is compatible with most iPhone models, including:
- iPhone 13 (inc Mini, Pro, Max)
- iPhone 12 (inc Mini, Pro, Max)
- iPhone 11 (inc Pro, Pro Max)
- iPhone XS (inc Max, XS, XR)
- iPhone X
- iPhone 8 (Plus, SE)
- iPhone 7 (inc Plus)
- iPhone 6 (inc 6s, 6s Plus, iPhone 6 Plus)
- iPhone 5
- iPhone 4
- iPhone SE
Even better, our tripod is also compatible with GoPro Hero 10 & 9 and most DSLR cameras.
Check out our Tripod for iPhone today and level up your photography now.
Frequently Asked Questions
What Is the Best Tripod for iPhone?
The best tripod for iPhone is easily our own Tripod for iPhone. That’s because it was designed with iPhones in mind.
Most other options involve buying an adapter for a standard tripod, which may have mixed results depending on the adapter quality.
However, our Tripod for iPhone uses a full aluminum design, has a pro-level ball head, and can take sharp, stable imagery. It’s also compact and therefore easy to bring with you on your photography outings.
Is a Phone Tripod Worth It?
Absolutely. A phone tripod can level up your photography by allowing for sharper images. It’s more stable and provides opportunities for longer exposure on your shots.

